Mastering IKEA Kitchen Gadgets: Can & Jar Opener Setup Guide
Learn how to set up, use, and maintain IKEA kitchen gadgets for cans and jars. Master the IKEA 365+ opener and silicone grips for effortless cooking.
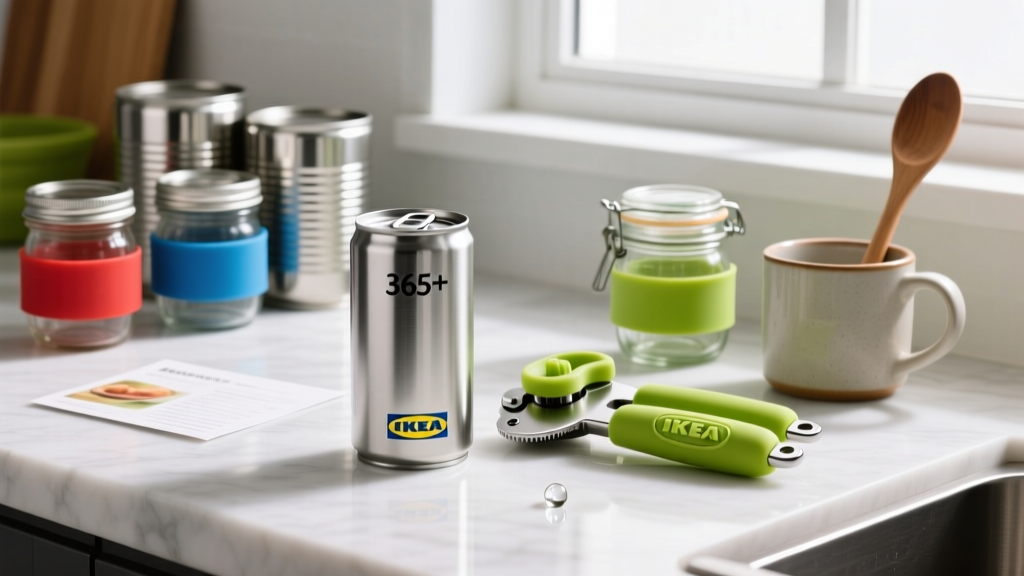
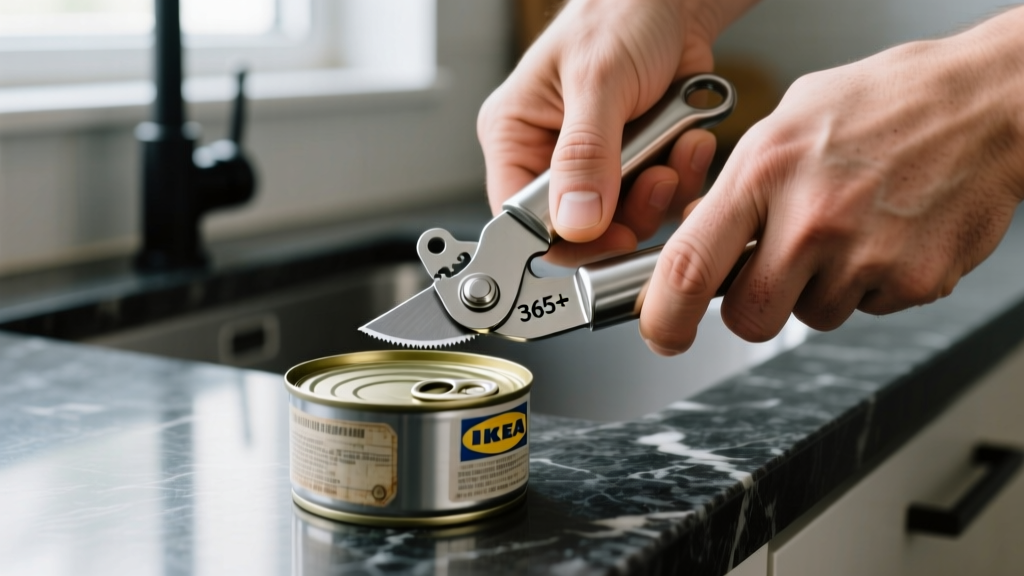
Manual kitchen tools frequently fail not because of poor manufacturing, but due to improper setup, misunderstood mechanics, and neglected maintenance. When evaluating ikea kitchen gadgets for daily prep, the can and jar opening implements stand out for their minimalist design and ergonomic potential. However, extracting maximum efficiency from tools like the IKEA 365+ can opener or their silicone friction mats requires a deliberate approach to drawer organization, physical technique, and metallurgical care. This guide details the exact setup protocols, mechanical techniques, and maintenance routines required to operate these specific tools with zero slippage and minimal joint strain.
The Ergonomic Drawer Setup for Opening Tools
Efficiency in the kitchen begins with the physical environment. Storing a manual can opener loose in a crowded utensil drawer leads to blade dulling and gear misalignment. To properly set up your station, utilize modular dividers like the IKEA VARIERA drawer inserts to create a dedicated opening-tool zone.
For right-handed users, position the can opener in the top-right quadrant of your primary prep drawer. Store it at a 45-degree angle relative to the drawer front. This specific angle mirrors the natural resting position of the wrist when reaching into the drawer, eliminating the need for awkward wrist extension or rotation upon retrieval. Place silicone jar-opening mats flat in a shallow divider tray rather than rolling them; rolling degrades the silicone memory and reduces the surface-area friction required for high-torque applications.
Calibrating and Using the IKEA 365+ Can Opener
The IKEA 365+ can opener utilizes a side-cutting mechanism, a significant upgrade from traditional top-piercing butterfly openers. Instead of severing the lid from the top seam, the side-cutter scores the outer rim of the can, separating the lid while leaving a smooth, safe edge on both the can and the removed lid. This design allows the lid to be reused as a temporary storage cover.
To operate the 365+ model correctly, follow this precise mechanical sequence:
- Initial Engagement: Clamp the opener onto the can so that the cutting wheel rests horizontally against the outer rim, not vertically on top. The small serrated drive gear must slot securely under the can's lip.
- Pressure Calibration: Squeeze the handles firmly until you hear a distinct metallic 'pop'. This indicates the cutting wheel has pierced the side seam. Do not over-compress, as excessive force binds the drive gear and causes slippage.
- Rotation Mechanics: Turn the knob clockwise using a steady, continuous motion. Stop rotating exactly when you overlap the initial puncture mark by roughly 2 millimeters. Stopping too early leaves a micro-tether; rotating too far dulls the cutting wheel against the newly severed lid edge.
- Lid Removal: Release the handle tension slowly. Use the integrated lid-lifter tab on the side of the opener to safely extract the detached lid without touching the food contents.

Torque and Friction: Mastering IKEA Jar Gadgets
Opening a vacuum-sealed jar is a physics problem, not a strength test. Commercial canning processes heat the contents, seal the lid, and allow it to cool, creating a vacuum differential of roughly 15 to 20 inches of mercury (inHg). The atmospheric pressure pushing down on the lid generates immense friction against the glass threads. Simply squeezing harder with a bare hand compresses the lid further into the threads, increasing the binding force.
IKEA offers two primary solutions for this: silicone friction mats and under-cabinet V-grip mounts. To use the silicone friction mat effectively, you must combine upward prying force with rotational torque. Place the mat over the lid, grip firmly, and apply a slight upward pull while twisting counter-clockwise. This upward vector breaks the vacuum seal before the rotational vector tackles the thread friction.
| Tool Type | Model / Example | Torque Required | Edge Safety | Price Range (2026) |
|---|---|---|---|---|
| Side-Cutting Manual | IKEA 365+ | Medium (15 Nm) | High (Smooth) | $14.99 - $19.99 |
| Standard Butterfly | Generic Market Brand | High (25 Nm) | Low (Sharp) | $8.00 - $12.00 |
| Silicone Friction Mat | IKEA RÖRLIG / Generic | N/A (Friction) | N/A | $4.99 - $7.99 |
| Under-Cabinet V-Grip | IKEA Fixed Mount | Low (Counter-Torque) | N/A | $9.99 - $14.99 |
Troubleshooting Gear Slippage and Seal Failure
Can Opener Skipping
If the IKEA 365+ drive gear slips and fails to advance the can, the issue is almost always debris accumulation in the serrations, not a broken tool. Food particulates and hardened starches lodge in the drive gear, reducing its bite radius. To fix this mid-prep, run the gear under hot water while manually rotating the knob backward to flush the teeth. For a permanent fix, use a stiff-bristled nylon brush and a mild degreaser to clear the serrations, then dry immediately.
Stubborn Vacuum Seals
When a silicone mat fails to break a jar seal, the vacuum differential is too high for manual friction alone. Do not resort to striking the bottom of the jar, which risks catastrophic glass failure. Instead, use a blunt butter knife to gently pry the outer edge of the metal lid away from the glass rim. You are listening for a faint hiss—the sound of ambient air entering the jar and equalizing the pressure. Once the pressure is equalized, the lid will unscrew with less than 5 Nm of torque.
Maintenance Protocol: Preventing Rust and Silicone Degradation
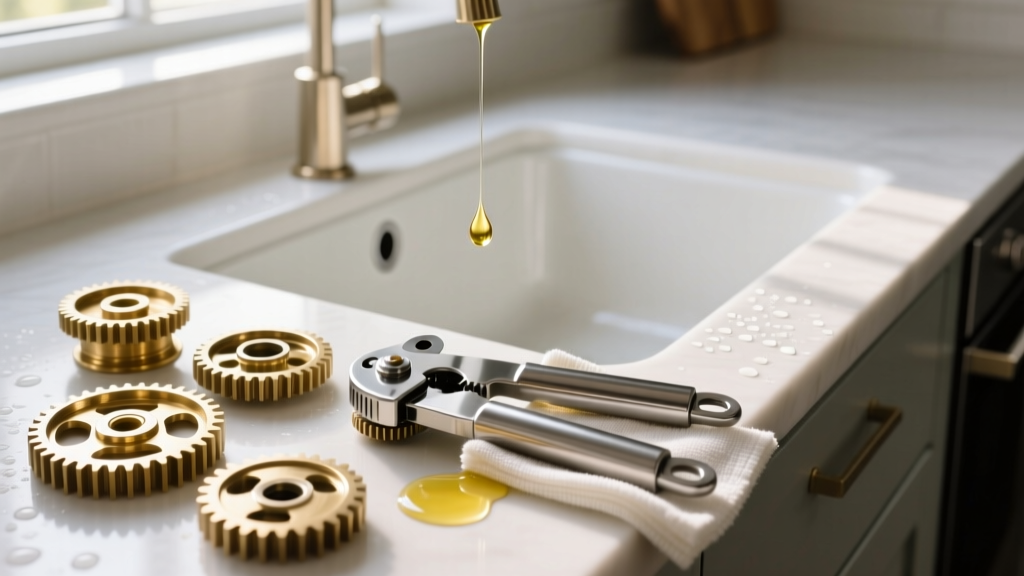
The body of the IKEA 365+ can opener is constructed from 18/10 stainless steel, which is highly resistant to corrosion. However, the actual cutting wheel and drive gear are manufactured from hardened carbon steel to maintain a sharp edge and high tensile strength. Carbon steel rusts rapidly when exposed to moisture and alkaline environments.
According to the FDA Shelf-Stable Food Safety Guidelines, compromised can seams and rusted cutting implements can introduce metallic contaminants and bacteria into shelf-stable foods. Therefore, the 365+ opener must never be placed in a dishwasher. The highly alkaline dishwasher detergent combined with prolonged heat will strip the protective passivation layer off the carbon steel, causing flash rust within a single cycle.
Implement this strict maintenance routine:
- Immediate Rinsing: Rinse the cutting wheel and drive gear under hot water immediately after use to remove acidic food residues (like tomato paste) that accelerate oxidation.
- Thermal Drying: Do not air dry. Wipe the tool with a microfiber cloth, then use the residual heat from your stove or a quick blast from a hair dryer to ensure zero moisture remains in the gear housing.
- Monthly Lubrication: Apply exactly one drop of food-grade mineral oil to the junction where the cutting wheel meets the housing. Rotate the knob ten times to distribute the oil. This prevents micro-corrosion and ensures smooth mechanical operation.
For silicone jar-opening mats, avoid storing them near direct heat sources or in direct sunlight, which causes the silicone polymers to break down, resulting in a sticky, degraded surface that loses its high-friction properties. Wash them with standard dish soap and lay them flat to dry.
Proper utilization of these ikea kitchen gadgets transforms frustrating prep tasks into seamless mechanical operations. By respecting the metallurgy of the cutting wheels, understanding the physics of vacuum seals, and maintaining an ergonomic drawer setup, you ensure your tools perform flawlessly for years. For users managing chronic joint pain, leveraging these mechanical advantages is critical; as noted in the Mayo Clinic guidelines on arthritis joint protection, utilizing tools that maximize leverage and minimize grip force is essential for preserving long-term cartilage health and maintaining independence in the kitchen.
Written by
Tom ReynoldsTom Reynolds holds a CFA (Chartered Financial Analyst) designation and a B.S. in Finance from the University of Texas at Austin. Before entering tech journalism, he spent 6 years as a quantitative analyst at a hedge fund, building cost-benefit models for consumer product investments. Tom has maintained a proprietary database of over 10,000 tech deals for the past 8 years, developing his signature "penny-per-feature" evaluation framework that calculates the true value proposition of every gadget. His budget gadget reviews are known for their financial rigor — he tracks price history across 15+ retailers, calculates cost-per-use over 3-year lifespans, and identifies the exact inflection point where premium features justify their markup. Tom's deal alerts have saved his readers an estimated .3 million since 2018.