Setup Guide: Intelligent Kitchen Gadgets for Stainless Steel Cookware
Learn how to configure, calibrate, and sync intelligent kitchen gadgets with stainless steel cookware for precision temperature control and smart prep.
The Intersection of Smart Tech and Metallurgy
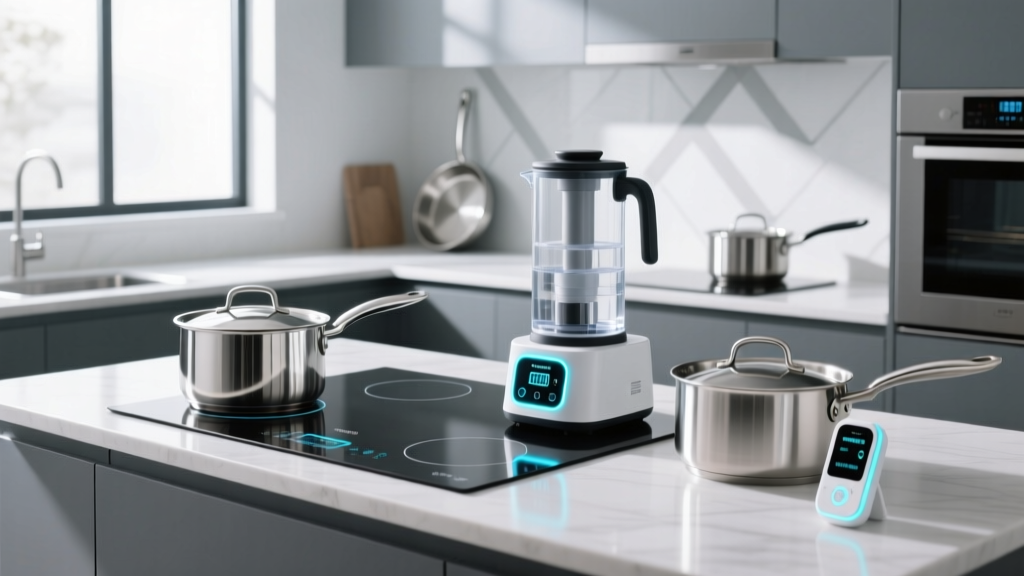
Integrating intelligent kitchen gadgets into a culinary workflow requires more than just downloading an app and connecting via Bluetooth. When your cookware of choice is high-grade stainless steel, the physical properties of the metal—specifically its magnetic permeability, thermal mass, and surface emissivity—directly impact the accuracy of smart induction hubs, infrared sensors, and wireless probe thermometers. A miscalibrated smart burner will overshoot target temperatures in a 5-ply steel pan, while an uncalibrated smart scale will throw off baker's percentages when using heavy steel prep bowls. This guide details the exact setup protocols required to synchronize your smart kitchen ecosystem with stainless steel cookware and accessories.
Magnetic Permeability and Induction Syncing
Smart induction cooktops, such as Wi-Fi-enabled portable burners and integrated smart hobs, rely on alternating magnetic fields to generate heat. However, not all stainless steel is magnetic. The most common food-grade stainless steel, 304-series (often labeled 18/10 or 18/8), is austenitic and fundamentally non-magnetic. To work with intelligent induction gadgets, your cookware must feature a ferritic (400-series) outer cladding, as noted in comprehensive material guides by NSF International.
Step-by-Step Induction Hub Pairing
- Verify the Base: Use a rare-earth neodymium magnet on the exterior bottom of the pan. If it snaps firmly, the 430-series steel cladding is sufficient for smart induction coupling.
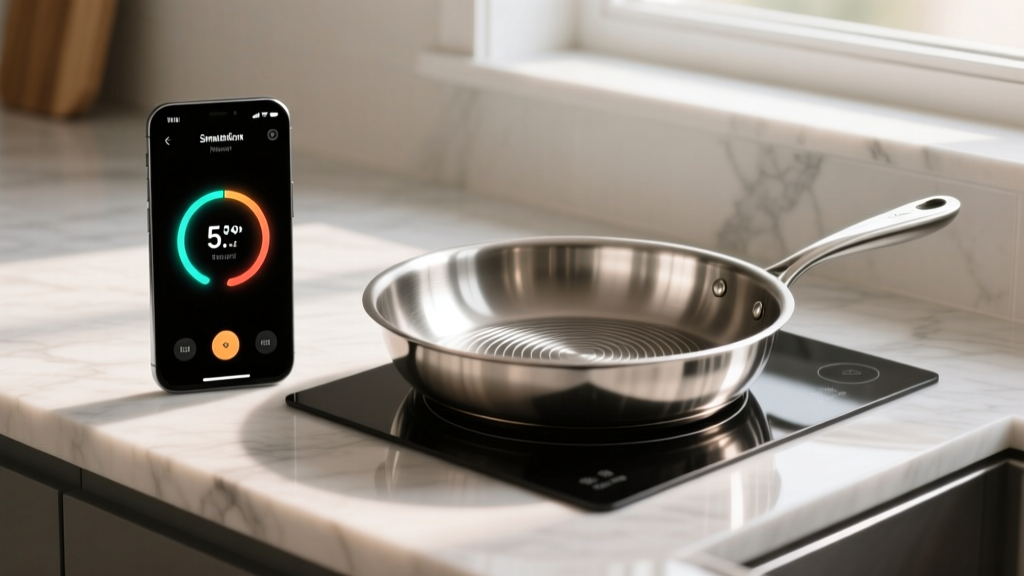
- Map the Pan Profile: Open your smart burner's companion app and navigate to 'Cookware Profiles'. Select 'Multi-Ply Stainless Steel' rather than 'Cast Iron'. This adjusts the PID (Proportional-Integral-Derivative) controller algorithm to account for the faster initial heat transfer of steel compared to cast iron.
- Set the Diameter Offset: Measure the exact diameter of the pan's magnetic base (not the rim). Input this measurement to the nearest millimeter in the app. Smart hubs use this data to optimize the magnetic field geometry, reducing stray electromagnetic fields and improving energy efficiency, a factor highlighted by the U.S. Department of Energy.
Thermal Mass Calibration for Multi-Ply Steel
High-end stainless steel pans, like 5-ply constructions featuring alternating layers of steel and aluminum, possess significant thermal mass. They heat up slower than thin carbon steel but retain heat aggressively once saturated. If your intelligent kitchen gadgets are not calibrated for this thermal lag, the smart burner will continue pumping wattage into the pan while waiting for the internal temperature sensor to register a change, resulting in severe temperature overshoot.
Executing a Thermal Lag Calibration
To map the thermal lag of your specific stainless steel vessel, perform this one-time calibration routine:
- Place the empty, dry stainless steel pan on the smart induction burner.
- Insert a secondary, highly responsive smart probe thermometer (like a Bluetooth-enabled surface probe) into the center of the pan.
- Set the smart burner app to hold exactly 350°F (176°C).
- Monitor the overshoot. If the app reports 350°F but your secondary probe reads 385°F, your pan has a high thermal retention factor.
- Access the 'Advanced Calibration' menu in the smart hub app and apply a negative thermal offset equal to the overshoot delta (e.g., -35°F). The hub will now cut power earlier, allowing the steel's residual heat to coast to the exact target temperature.
Overcoming Surface Reflectivity with IR Thermometers
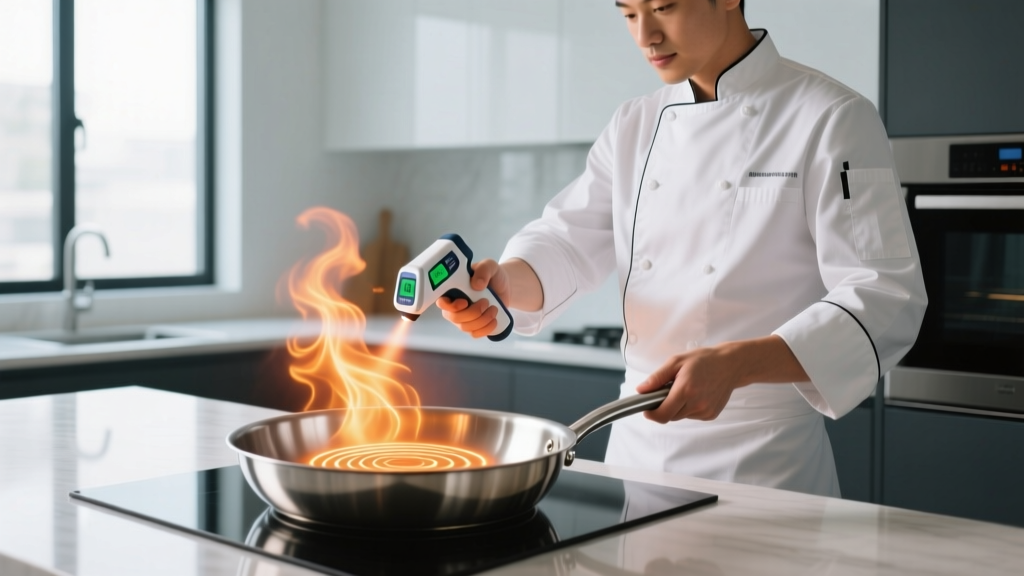
Intelligent infrared (IR) thermometers are staples in smart kitchens for checking surface temps without contact. However, polished stainless steel has an extremely low emissivity rating—typically around 0.15. Most smart IR gadgets are hardcoded to assume an emissivity of 0.95 (the standard for organic matter and matte surfaces). If you point a smart IR thermometer at a bare stainless steel skillet, it will read the ambient room temperature or the reflection of your ceiling, not the pan's actual heat.
Pro Tip: Never rely on raw IR readings from polished steel. According to culinary testing by Serious Eats, the surface condition of stainless steel drastically alters heat perception and measurement accuracy.
The Emissivity Fix: Oil Film and Kapton Tape
To force your intelligent IR gadget to read stainless steel accurately, you must artificially raise the surface emissivity. You have two options:
- The Oil Film Method: Apply a microscopically thin layer of high-smoke-point oil (like avocado oil, which has an emissivity of ~0.95). The smart IR sensor will read the oil's surface, which is in perfect thermal equilibrium with the steel beneath it.
- The Kapton Tape Method: For dry prep or oven-pan transitions, apply a small square of high-temperature polyimide (Kapton) tape to the exterior or rim of the steel pan. Kapton tape has an emissivity of 0.90 to 0.95, providing a permanent, accurate target for your smart IR sensor.
Smart Scale Tare Protocols for Heavy Steel Accessories
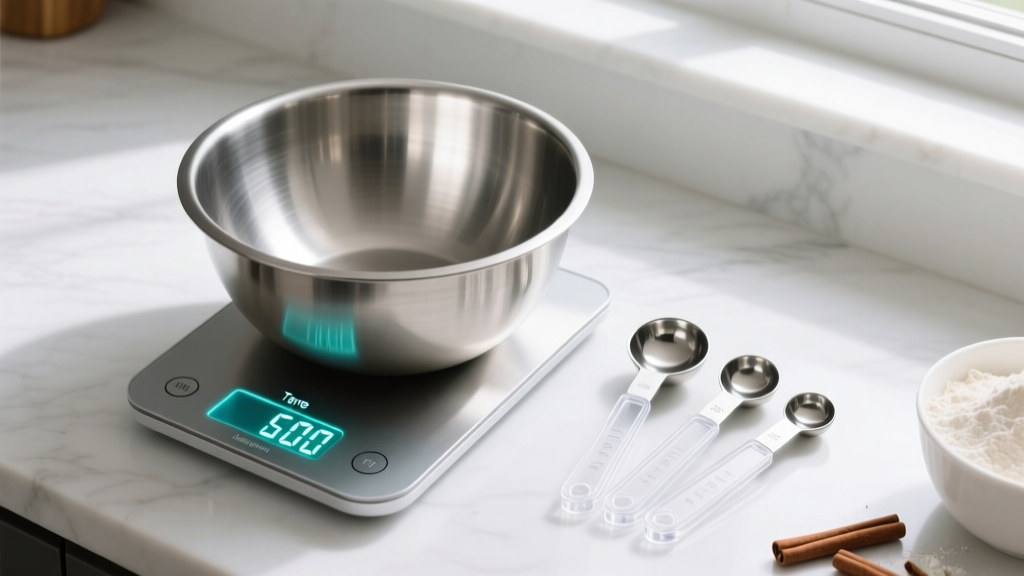
Stainless steel kitchen accessories, particularly mixing bowls and bain-maries, are substantially heavier than their glass or plastic counterparts. A standard 3-quart stainless steel mixing bowl can weigh between 1.8 lbs and 2.4 lbs (approx. 815g to 1088g). When using intelligent kitchen gadgets like app-connected smart scales for precision baking, manually taring the scale every time introduces human error and disrupts automated recipe flows.
Automating Tare Weight Profiles
Most premium smart scales allow you to save custom 'Vessel Profiles' in their companion apps. To set this up:
- Weigh your empty, dry stainless steel bowl on the smart scale.
- Open the scale's app and navigate to 'Vessel Management'.
- Create a new profile named '3QT Steel Bowl' and input the exact gram weight.
- Enable 'Auto-Tare on NFC/QR Scan'. Many advanced smart scales now support NFC tags. Stick an NFC sticker to the bottom of your steel bowl. When you place the bowl on the scale, the scale reads the tag and automatically deducts the precise tare weight, ensuring your baker's percentages and hydration calculations remain flawless.
Troubleshooting Matrix: Smart Gadgets and Steel
Even with perfect setup, the interaction between electromagnetic fields, thermal dynamics, and stainless steel can cause edge-case failures. Use this matrix to diagnose and resolve common issues.
| Symptom | Root Cause | Technical Fix |
|---|---|---|
| Smart probe thermometer drops Bluetooth connection when placed in a deep steel stockpot. | The thick stainless steel walls and liquid mass are acting as a Faraday cage, attenuating the 2.4GHz Bluetooth signal. | Switch the smart probe to its included Wi-Fi bridge or repeater. If using a Bluetooth-only probe, ensure the receiver is placed within 3 feet and has a direct line of sight to the probe's exposed antenna handle. |
| Smart induction burner emits a high-pitched whining noise with a specific stainless pan. | Harmonic resonance caused by the vibration of the thin magnetic steel layer against the aluminum core at high frequencies. | Lower the power setting by 5% or switch the burner's frequency mode from 'High-Pulse' to 'Continuous Wave' in the developer settings of the app. |
| Smart scale readings fluctuate wildly when a hot stainless pan is placed on it. | Thermal expansion of the scale's internal load cell due to heat transfer from the steel pan's base. | Always use a thick silicone trivet or a wooden cutting board as a thermal barrier between hot steel cookware and the smart scale's glass surface. |
Successfully merging intelligent kitchen gadgets with stainless steel cookware requires respecting the laws of physics. By calibrating for magnetic permeability, adjusting for thermal lag, compensating for low emissivity, and automating heavy tare weights, you transform standard metal vessels into highly responsive nodes in a precision cooking network.
Written by
David OkaforDavid Okafor is an ASE (Automotive Service Excellence) Master Certified Technician with 15 years of professional experience in vehicle diagnostics, aftermarket electronics installation, and fleet management. He holds an Associate Degree in Automotive Technology from Universal Technical Institute and certifications in mobile electronics (MECP Certified Installer). David has installed and reviewed over 800 car tech products — from OBD2 scanners and dash cams to full infotainment system retrofits — in vehicles ranging from economy compacts to luxury SUVs. His popular YouTube channel "AutoTech David" has over 150,000 subscribers and features detailed installation tutorials and product teardowns. He is a regular contributor to the SEMA Show's aftermarket technology showcase and advises two automotive tech startups on product development.