Top Kitchen Gadgets: Wooden & Bamboo Tools Beginner vs Expert Guide
Discover why wooden and bamboo utensils rank among the top kitchen gadgets. Compare beginner mistakes with expert selection and maintenance techniques.
The Analog Gadgets: Why Wood and Bamboo Make the Cut
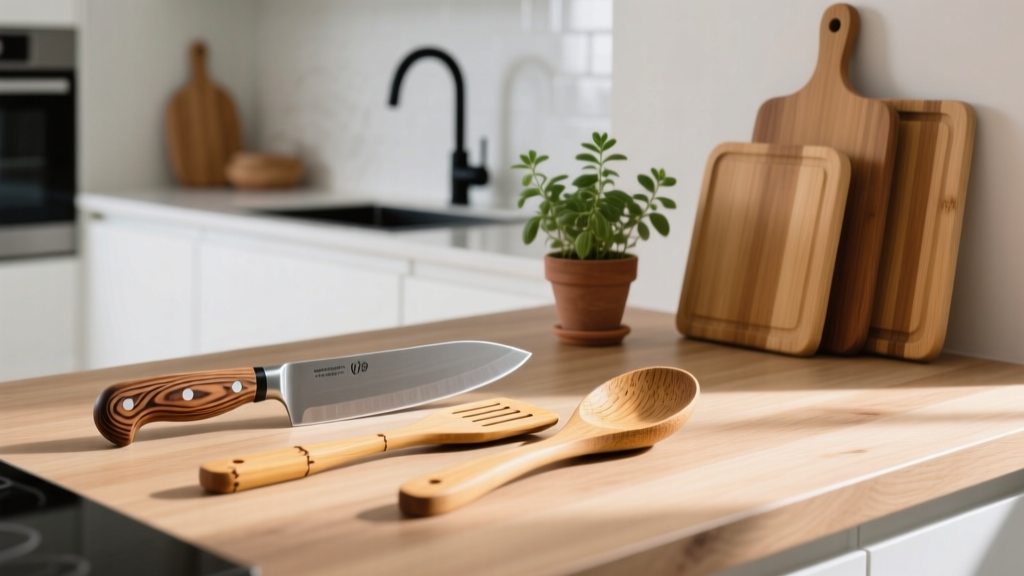
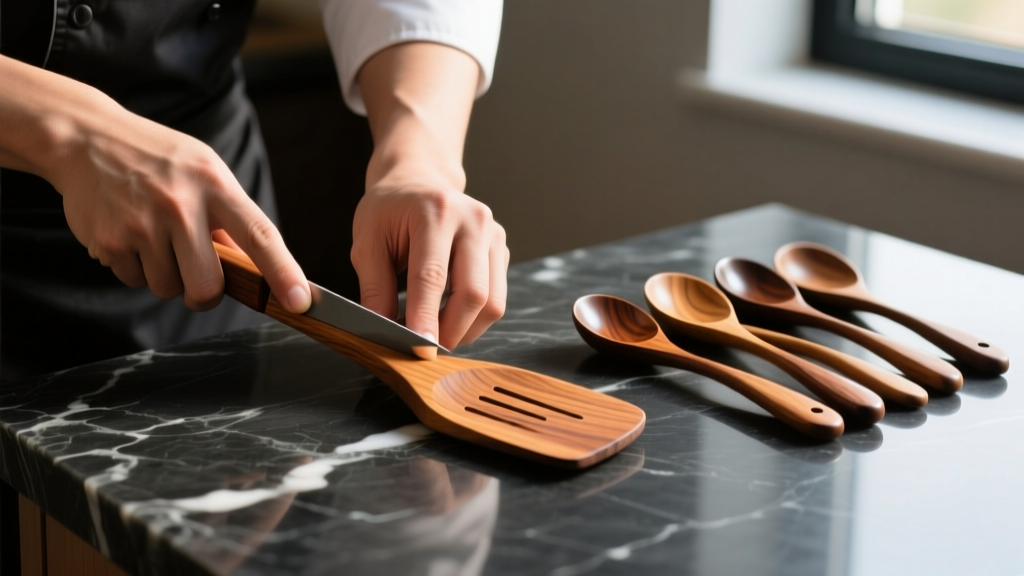
When curating a list of the top kitchen gadgets, most home cooks immediately gravitate toward smart thermometers, precision sous vide circulators, or automated pan stirrers. Yet, the most critical tools in a professional kitchen are often entirely analog. Wooden kitchen utensils and bamboo cooking tools represent a masterclass in ergonomic engineering, thermal insulation, and material science. A perfectly balanced beechwood stirring paddle or a flexible teak spatula offers tactile feedback and heat resistance that no silicone or stainless steel gadget can replicate.
However, the gap between how a novice and a culinary expert approaches wooden tools is vast. Beginners often view wood as a monolithic category, purchasing cheap, multi-piece bamboo sets and treating them like dishwasher-safe plastics. Experts, conversely, evaluate utensils based on botanical species, Janka hardness ratings, grain orientation, and the chemical composition of the finishes used. This guide bridges that gap, breaking down the material science and maintenance protocols required to elevate your utensil drawer from a collection of splintering sticks to a curated arsenal of heirloom-quality kitchen gadgets.
Material Science 101: Hardwoods vs. Bamboo Grass
The most common misconception among novice cooks is that bamboo is a type of wood. Botanically, bamboo is a grass (family Poaceae), which fundamentally alters its cellular structure and behavior under stress. Hardwoods grow via annual rings (secondary xylem), creating a dense, interlocking matrix of fibers. Bamboo grows rapidly as a culm, relying on vascular bundles embedded in a parenchyma tissue matrix. This structural difference dictates how each material handles moisture, heat, and mechanical stress.
| Material Species | Janka Hardness (lbf) | Volumetric Shrinkage | Best Culinary Application |
|---|---|---|---|
| Teak (Tectona grandis) | 1,000 - 1,155 | ~5.3% | High-heat sautéing, scraping fond |
| Black Walnut (Juglans nigra) | 1,010 | ~12.8% | Daily prep, tossing salads, serving |
| European Beech (Fagus sylvatica) | 1,300 | ~17.8% | Heavy stirring, dough scraping |
| Olive Wood (Olea europaea) | 2,710 | ~9.0% | Serving, charcuterie, light prep |
| Moso Bamboo (Phyllostachys edulis) | 1,350 - 1,400 | Varies by lamination | Lightweight stirring, steaming baskets |
According to data compiled by The Wood Database, olive wood is exceptionally hard but can be brittle, making it prone to snapping under heavy leverage. Teak, while softer on the Janka scale, contains natural tectoquinones and silica, granting it unparalleled resistance to water absorption and fungal decay. For a deep dive into wood properties and botanical classifications, The Wood Database remains the definitive reference for understanding how cellular structure impacts kitchen tool longevity.
The Beginner's Trap: Supermarket Sets and Dishwasher Disasters
The typical beginner's journey starts with a $15 bamboo utensil set from a big-box retailer. These sets are visually appealing but harbor structural and chemical vulnerabilities that experts actively avoid. Bamboo culms are hollow and relatively narrow; to create a wide spatula or spoon, manufacturers must slice the bamboo into strips and laminate them together using industrial adhesives.
Cheap bamboo laminations frequently utilize urea-formaldehyde or melamine-formaldehyde resins. When exposed to the sustained 140°F+ heat and harsh alkaline detergents of a dishwasher, these adhesives degrade, releasing microscopic chemical compounds into your food and causing the utensil to delaminate. Experts strictly hand-wash all wooden and bamboo tools to preserve the lignin matrix and adhesive bonds.
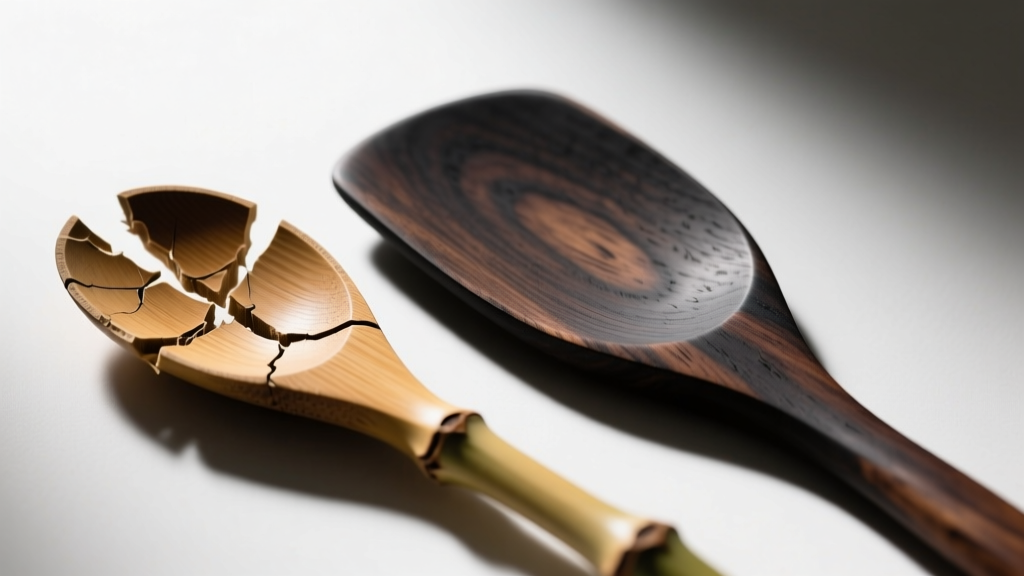
Furthermore, beginners often neglect the end-grain. Wood acts like a bundle of microscopic straws. If a utensil is carved with exposed end-grain at the business end (the part submerged in boiling liquids), it will rapidly wick moisture, swell, and eventually split. Mass-produced sets rarely account for grain orientation, prioritizing yield over longevity.
The Expert's Arsenal: Species Selection and Grain Orientation
When professionals invest $35 to $60 in a single, artisan-crafted wooden spatula, they are paying for precise grain orientation and optimal species selection. The direction of the wood grain dictates the tool's tensile strength and flexibility.
Decoding Grain Direction
- Face-Grain (Flat-Sawn): Shows the widest, most aesthetic cathedral patterns. It is the weakest orientation for thin utensils and is highly susceptible to cupping when exposed to uneven moisture.
- Edge-Grain (Quarter-Sawn): The grain runs vertically through the thickness of the tool. This is the gold standard for spatulas and turners. It provides maximum lateral stiffness while allowing the thin edge to remain flexible enough to slide under delicate proteins without snapping.
- End-Grain: The cut ends of the wood fibers. Experts ensure end-grain is only present at the very top of the handle, never at the working edge of a spoon or spatula, to prevent capillary action from drawing hot oils and water deep into the tool.
Matching Species to the Task
An expert does not use a single wooden spoon for every task. High-acid environments, like reducing a tomato-based ragù or deglazing with wine, require woods with high natural oil content or closed-pore structures. Teak and olive wood excel here because their dense, oily cellular structure prevents acidic liquids from penetrating and imparting a metallic or sour taste to subsequent dishes. Conversely, porous woods like ash or red oak should be entirely avoided in the kitchen, as their open vascular pores trap food particles and harbor bacteria—a fact corroborated by sanitation guidelines from the USDA Food Safety and Inspection Service, which emphasizes the necessity of tight-grained, non-porous surfaces for food contact.
Maintenance Protocols: Novice Neglect vs. Proactive Curing
The most significant differentiator between a beginner and an expert is the maintenance routine. Wood is a hygroscopic material; it constantly exchanges moisture with the surrounding environment. Without a proper hydrophobic barrier, a wooden spoon will dry out, micro-fracture, and absorb the rancid oils from your cooking.
"A wooden utensil is not a static object; it is a living matrix that requires a controlled lipid barrier to survive the thermal shock of a professional kitchen." — Culinary Materials Science Principle
The Chemistry of Wood Oiling
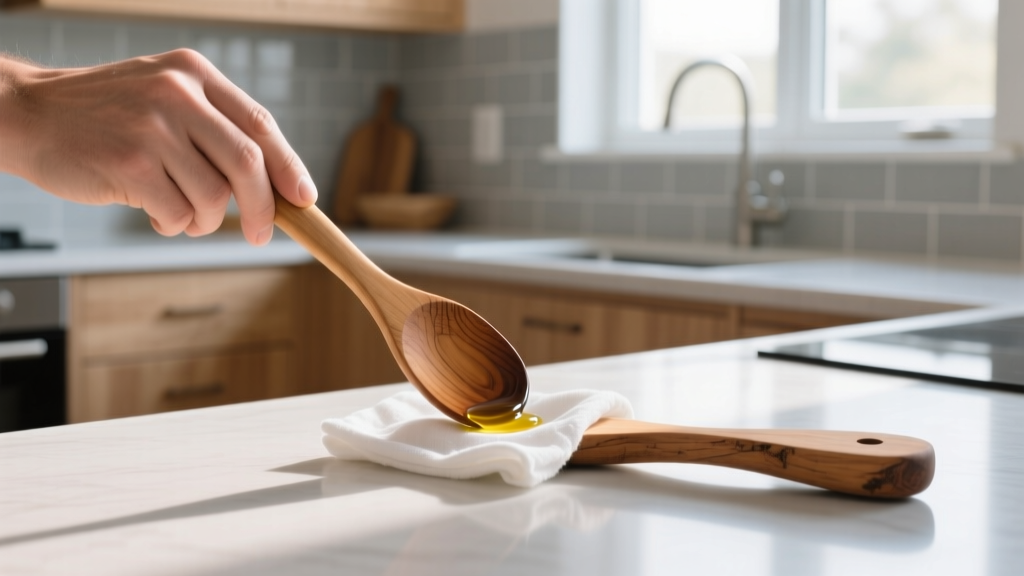
Beginners often make the fatal error of using vegetable oils (olive, canola, or coconut) to condition their tools. These are triglycerides that eventually oxidize, polymerize poorly, and turn rancid, leaving your utensils smelling like old crayons. Experts rely on specific, food-safe lipid barriers:
- Food-Grade Mineral Oil (Non-Drying): A highly refined petroleum distillate that never goes rancid. It penetrates the wood fibers but does not harden, requiring monthly reapplication. It is the baseline standard for maintenance.
- Pure Tung Oil (Drying): Extracted from the nut of the tung tree, this oil undergoes a chemical cross-linking process when exposed to oxygen, creating a hard, water-resistant plastic-like finish within the wood pores. Crucial Note: Experts only use 100% pure tung oil. Hardware store "Tung Oil Finishes" contain toxic metallic driers and solvents that are not food-safe.
- Beeswax and Mineral Oil Blends (Board Cream): By suspending beeswax in mineral oil, experts create a semi-solid paste. The oil penetrates deeply, while the wax remains near the surface, providing a superior tactile feel and an enhanced hydrophobic barrier against boiling water.
The Expert's 4-Step Restoration Protocol
If you inherit a dried-out, gray, or slightly fuzzy wooden tool, do not throw it away. Follow this restorative process:
- Abrasive Cleaning: Create a paste of coarse kosher salt and half a lemon. Scrub the utensil vigorously to lift embedded oils and neutralize surface odors. Rinse and dry completely for 24 hours.
- Micro-Sanding: If the grain has "raised" (feeling fuzzy to the touch), lightly sand the tool with 400-grit sandpaper, always moving parallel to the grain direction. Wipe away the micro-dust with a damp cloth.
- Deep Penetration: Warm food-grade mineral oil slightly (around 110°F) to reduce its viscosity. Submerge the working end of the utensil in the oil for two hours, allowing capillary action to draw the lipid deep into the xylem.
- Surface Sealing: Wipe off excess oil and buff the tool with a beeswax-based board cream. Allow it to cure overnight before returning it to heavy kitchen rotation.
Verdict: Elevating Your Utensil Drawer
Wooden and bamboo tools absolutely belong on any serious list of top kitchen gadgets, provided they are selected and maintained with intentionality. The beginner's approach—buying cheap, glued bamboo sets and running them through the dishwasher—results in a perpetual cycle of replacement and potential chemical exposure. The expert's approach treats these tools as precision instruments. By prioritizing edge-grain orientation, selecting species based on Janka hardness and natural oil content, and committing to a rigorous mineral oil and beeswax maintenance schedule, you transform simple pieces of wood into heirloom-quality extensions of your own hands. Stop settling for splintering sticks; invest in the material science of the analog kitchen.
Written by
Ryan TanakaRyan Tanaka holds a B.S. in Mechanical Engineering from Oregon State University and is a certified AWS Solutions Architect. He has built over 80 custom electronics projects ranging from CNC machines to IoT sensor networks, and has reviewed development boards, 3D printers, soldering equipment, and maker tools for the past 6 years. Ryan is an active contributor to 12 open-source hardware projects on GitHub and teaches monthly workshops at three hackerspaces across the Pacific Northwest. His reviews combine engineering rigor with accessibility — he evaluates products not just on specs but on documentation quality, community support, and learning curve for beginners. He has presented at Maker Faire Bay Area, Open Hardware Summit, and the Adafruit community showcase, and maintains a popular blog documenting his build processes.