How to Automate Smart Home Gadgets for Health and Sleep
Transform your home into a recovery zone. Learn how to automate smart home gadgets for health, optimizing air quality, circadian light, and sleep climate.
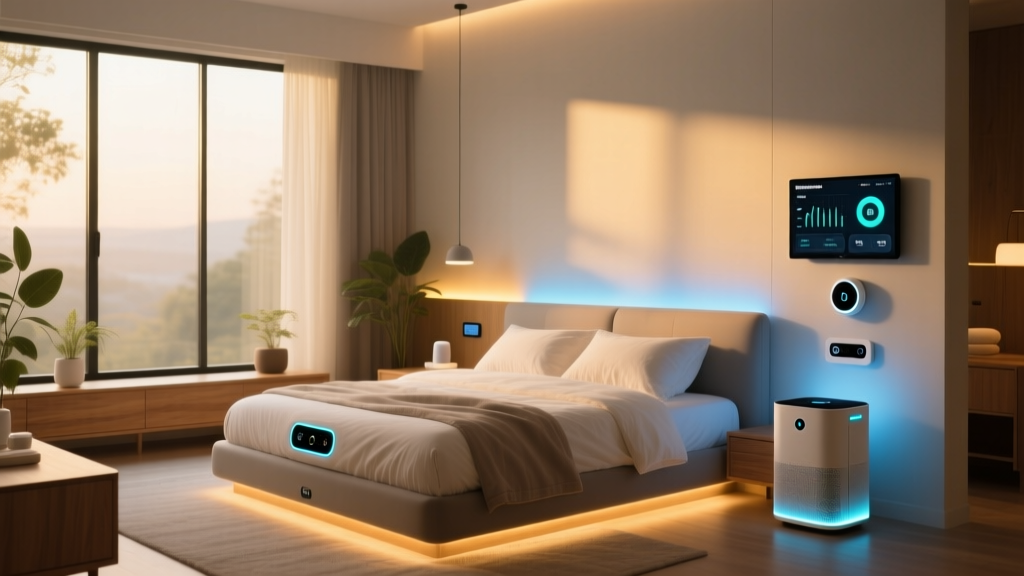
Most consumers associate the phrase "gadgets for health" exclusively with wearables like smart rings or continuous glucose monitors. However, your indoor environment dictates the majority of your physiological recovery. By strategically deploying smart home devices—specifically hubs, environmental sensors, and smart plugs—you can automate the air quality, circadian lighting, and thermal climate of your living space. This setup guide details how to configure a localized, low-latency smart home stack that actively manages your health metrics without relying on cloud-dependent ecosystems.
The Core Health Hub Architecture
To build a reliable health automation network, you must prioritize local execution. Cloud-dependent hubs introduce latency and fail during internet outages—unacceptable when managing HVAC triggers for asthma sufferers or maintaining sleep temperatures. For 2026, the optimal foundation is a hub that supports Matter 1.3 and Thread 1.4 protocols natively.
The Aqara Hub M3 ($129) or the Home Assistant Green ($99) are the premier choices. The Aqara M3 acts as a Thread border router and Zigbee coordinator, allowing you to mix low-power sensors with high-bandwidth Matter devices. By keeping automations local, sensor-to-plug latency drops below 50 milliseconds, ensuring immediate responses to environmental hazards like sudden VOC spikes.
Step-by-Step: Automating Circadian Lighting
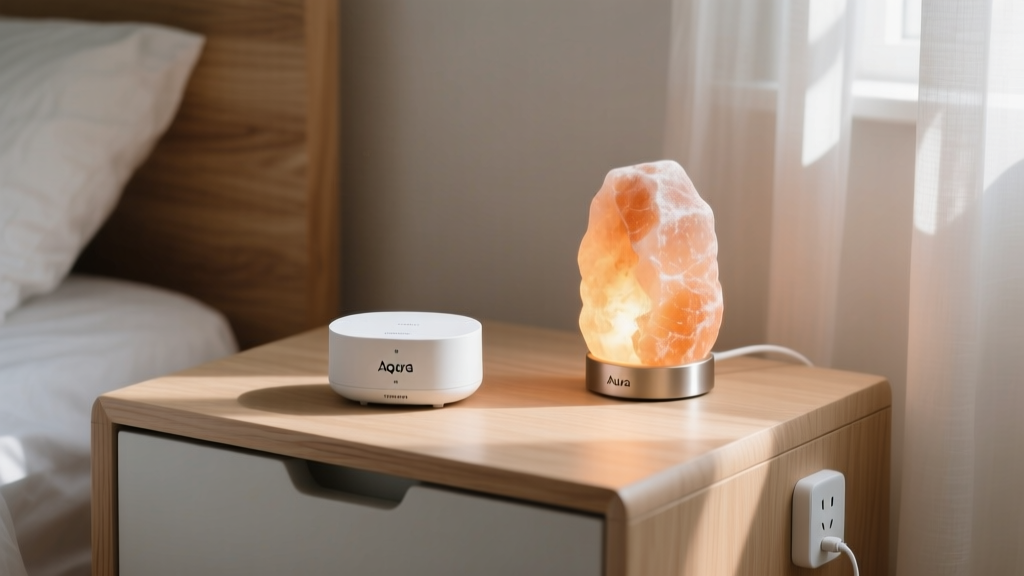
Exposure to blue light (460-480nm) after sunset suppresses melatonin production by up to 50%, disrupting sleep architecture. While smart bulbs are common, many enthusiasts overlook using smart plugs to control dedicated low-Kelvin ambient lighting, such as Himalayan salt lamps or amber LED strip arrays, which emit zero blue light.
- Identify Light Sources: Map out all overhead and ambient lights in the bedroom and primary evening living spaces.
- Install Thread/Matter Smart Plugs: Use plugs like the Eve Energy ($39) for lamps. Thread ensures mesh reliability without congesting your Wi-Fi network.
- Configure the Sunset Trigger: In your hub's app, set an automation tied to your local solar elevation angle (not just a fixed time). Trigger the smart plugs to turn ON when the sun drops below -4 degrees (civil dusk).
- Set the Color Temperature Curve: For smart bulbs, program a linear transition from 4000K at 6:00 PM down to 2200K (or pure amber) by 9:00 PM.
Configuring Air Quality and HVAC Triggers
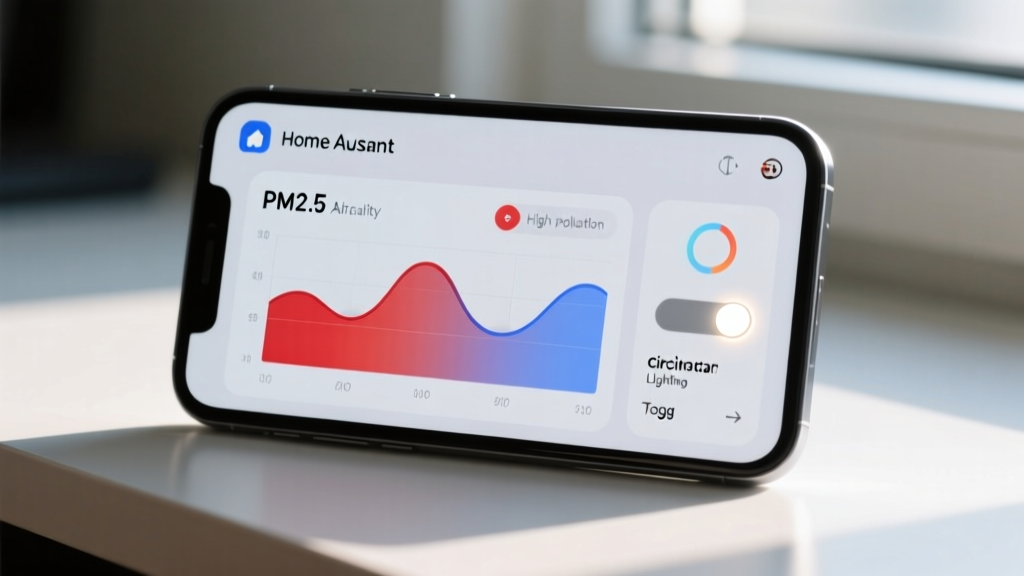
Indoor air can be two to five times more polluted than outdoor air, according to the EPA Indoor Air Quality guidelines. Automating HEPA purifiers and HVAC fans based on real-time sensor data is one of the most impactful ways to utilize gadgets for health.
The Sensor Burn-In Requirement
The most common failure mode in DIY air quality automation is ignoring sensor calibration. Devices like the Aqara TVOC Air Quality Monitor ($69) use Metal Oxide (MOX) semiconductor sensors. Out of the box, these sensors exhibit massive baseline drift.
Setting Health Thresholds
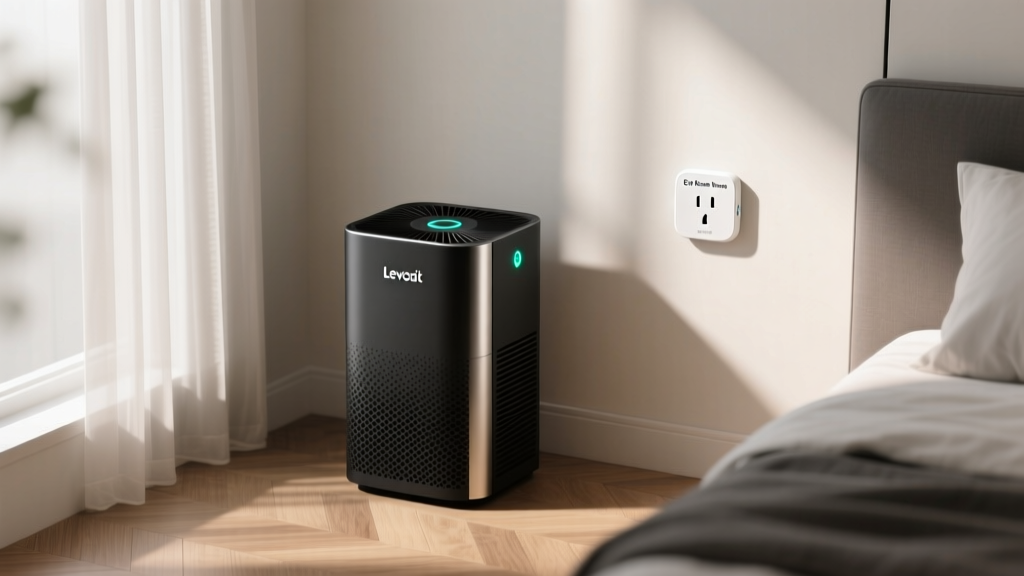
Once calibrated, configure your smart plugs to trigger air purifiers based on strict epidemiological thresholds:
| Pollutant | Trigger Threshold (Action ON) | Recovery Threshold (Action OFF) | Health Impact |
|---|---|---|---|
| PM2.5 | > 12 µg/m³ | < 8 µg/m³ | Respiratory irritation, cardiovascular stress |
| TVOC | > 250 ppb | < 150 ppb | Headaches, cognitive fatigue, nausea |
| CO2 | > 1000 ppm | < 800 ppm | Sleep disruption, reduced REM cycles |
Note: Always implement a deadband (hysteresis) between your ON and OFF thresholds. If your ON trigger is 12 µg/m³ and OFF is 11 µg/m³, natural air fluctuations will click the smart plug relay dozens of times per hour, destroying the plug and the purifier's motor capacitor.
Sleep Climate Automation Matrix
Core body temperature must drop by approximately 2°F to initiate and maintain deep sleep. The Sleep Foundation recommends an ambient bedroom temperature between 60°F and 67°F (15.5°C - 19.4°C). You can automate this using a Thread-enabled temperature/humidity sensor (like the Eve Thermo or SwitchBot Hub 2 built-in sensor) paired with a smart plug controlling a window AC unit or a smart humidifier.
Edge Case: Managing Humidity and Mold Risk
When automating a humidifier via a smart plug during winter, you must cross-reference indoor temperature with outdoor temperature to prevent condensation and mold growth on windows.
- Outdoor Temp > 30°F: Target indoor humidity 45-50%.
- Outdoor Temp 10°F to 30°F: Target indoor humidity 35-40%.
- Outdoor Temp < 10°F: Target indoor humidity 25-30%.
Create a script in your hub that checks your local weather API every hour and dynamically adjusts the humidity threshold that triggers the smart plug. This prevents the "health gadget" from inadvertently creating a mold hazard.
Troubleshooting Sensor Drift and Automation Failures
Even premium environmental sensors fail if placed incorrectly. Use this decision tree to troubleshoot erratic smart plug triggering:
- Symptom: Purifier turns on randomly at night.
Cause: Sensor is placed in a dead-air corner or near an exterior wall where thermal drafts cause localized humidity/temperature shifts, confusing combined environmental algorithms.
Fix: Relocate the sensor to breathing height (3 to 5 feet off the floor) and away from direct HVAC vents. - Symptom: Smart plug clicks but the AC/Purifier doesn't turn on.
Cause: The appliance has a mechanical switch or requires a manual button press after receiving power.
Fix: Replace the appliance with one featuring "auto-restart" or "memory" functionality upon power restoration. Smart plugs cannot simulate physical button presses. - Symptom: Zigbee sensors drop offline, halting automations.
Cause: Insufficient mains-powered repeaters in the mesh network.
Fix: Add 2-3 smart plugs (which act as Zigbee/Thread routers) in hallways between the hub and the bedroom sensors to bridge the signal.
Recommended Hardware Stack & Budget
Building a comprehensive environmental health network requires a balanced investment in reliable protocols. Below is the optimal 2026 hardware stack for a standard 2-bedroom apartment.
| Device Category | Recommended Model | Protocol | Est. Price |
|---|---|---|---|
| Primary Hub | Aqara Hub M3 | Matter / Thread / Zigbee | $129 |
| Air Quality Sensor | Aqara TVOC Monitor | Zigbee 3.0 | $69 |
| Temp/Humidity Sensor | SwitchBot Indoor/Outdoor | Bluetooth / Thread (via Hub) | $35 |
| Smart Plugs (3-Pack) | Kasa EP25 (Matter) | Matter over Wi-Fi | $32 |
| Circadian Lighting | Philips Hue White Ambiance | Zigbee (via Hue Bridge) | $119 (2-pack) |
By shifting your focus from passive tracking wearables to active environmental manipulation, you leverage smart home infrastructure as the ultimate suite of gadgets for health. The key to success lies in respecting sensor physics, implementing deadbands to protect your appliances, and prioritizing local mesh protocols to ensure your recovery environment never goes offline.
Written by
Ryan TanakaRyan Tanaka holds a B.S. in Mechanical Engineering from Oregon State University and is a certified AWS Solutions Architect. He has built over 80 custom electronics projects ranging from CNC machines to IoT sensor networks, and has reviewed development boards, 3D printers, soldering equipment, and maker tools for the past 6 years. Ryan is an active contributor to 12 open-source hardware projects on GitHub and teaches monthly workshops at three hackerspaces across the Pacific Northwest. His reviews combine engineering rigor with accessibility — he evaluates products not just on specs but on documentation quality, community support, and learning curve for beginners. He has presented at Maker Faire Bay Area, Open Hardware Summit, and the Adafruit community showcase, and maintains a popular blog documenting his build processes.