Setting Up Smart Kitchen Gadgets for Mom: Automation & Safety Guide
Learn how to set up smart kitchen gadgets for mom, automating coffee routines and installing leak sensors for ultimate safety and convenience.
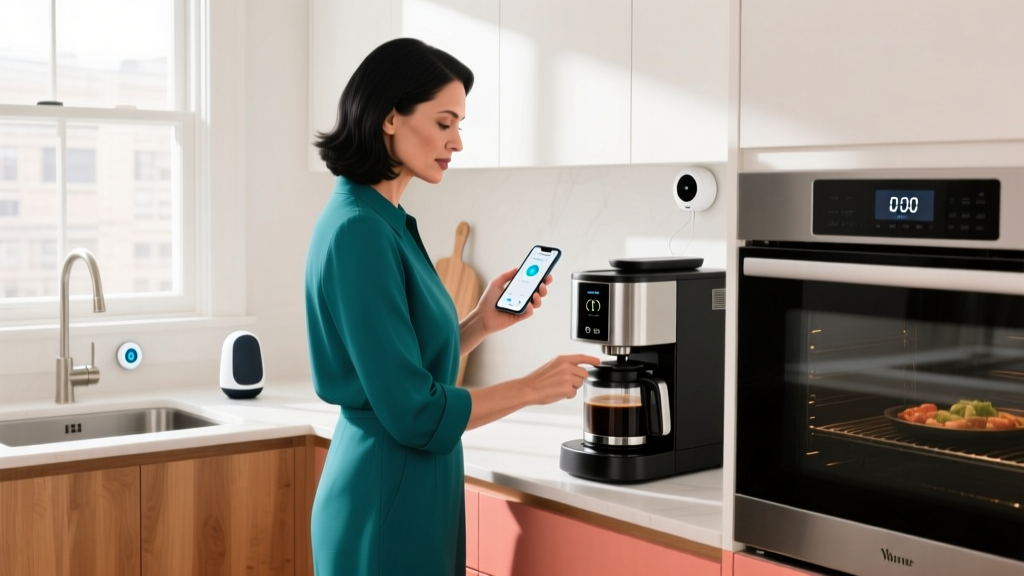
The Core Philosophy: Safety Meets Convenience
When selecting and configuring kitchen gadgets for mom, the priority must shift from novelty to operational resilience. According to the National Fire Protection Association (NFPA), cooking equipment remains the leading cause of home structure fires and civilian fire injuries. A smart kitchen setup for an aging parent or a highly scheduled mother must mitigate these risks while reducing daily cognitive load. This requires moving beyond simple Wi-Fi appliances and building a localized, fail-safe network using Zigbee 3.0 and the latest Matter protocol standards, ensuring devices function even if the home's primary internet connection drops.
This guide details the exact hardware, network topology, and configuration steps required to build an automated, fail-safe kitchen ecosystem. We will cover morning routine automation, thermal load management, and catastrophic leak prevention.
Phase 1: Automating the Morning Coffee Routine
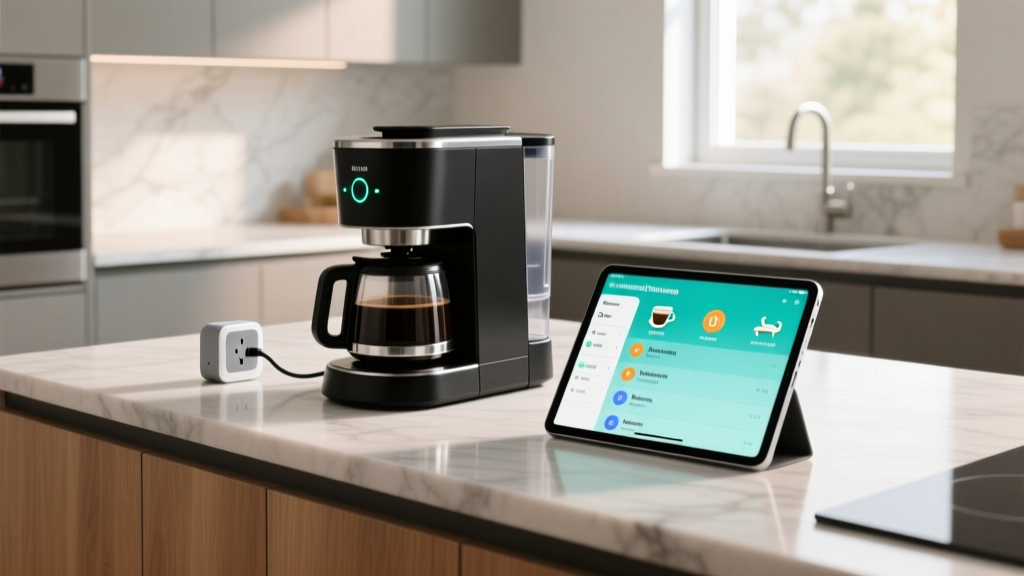
The most requested feature when upgrading a mother's kitchen is automated morning coffee. However, most modern coffee makers feature digital soft-touch buttons that reset when power is cut, rendering standard smart plugs useless. The solution is pairing a mechanical-switch drip coffee maker (like the classic Mr. Coffee 12-Cup Switch) with a high-amperage Zigbee smart plug.
Hardware Requirements
- Smart Plug: Aqara Smart Plug (Model SP-EUC01) or Eve Energy (Matter-compatible).
- Hub: Aqara Hub M2 or Apple TV 4K (acting as a Thread/Zigbee border router).
- Appliance: Any coffee maker with a physical, click-down mechanical power switch.
Step-by-Step Configuration
- Physical Prep: Fill the coffee maker with water and grounds the night before. Press the mechanical switch to the 'ON' position. The machine will not start because the smart plug is currently cutting power.
- Network Pairing: Open your smart home app (Apple Home or Aqara Home). Add the smart plug via the hub. Assign it to the 'Kitchen' room and name it 'Coffee Maker Power'.
- Create the Automation: Set a time-based trigger for 6:30 AM. Add the action: 'Turn On Coffee Maker Power'.
- Add a Fail-Safe Condition: Add a condition that checks if the 'Kitchen Motion Sensor' has detected movement in the last 12 hours. This prevents the coffee maker from turning on and burning an empty pot if mom is away or sleeping in.
Phase 2: Thermal Load Management & Auto-Shutoff
Kitchens are dense with high-wattage appliances. A common mistake when setting up kitchen gadgets for mom is overloading a single 15-amp wall circuit with multiple smart plugs and heating elements. Standard smart plugs are rated for 15A (1800W maximum), but the National Electrical Code (NEC) dictates the 80% continuous load rule, meaning you should never draw more than 1440W continuously through a smart plug.
Appliance Wattage vs. Smart Plug Capacity
| Appliance Type | Average Wattage | Safe for Smart Plug? | Required Protocol |
|---|---|---|---|
| Drip Coffee Maker | 600W - 900W | Yes | Zigbee / Matter |
| Toaster Oven (Air Fryer) | 1400W - 1800W | No (Fire Risk) | Requires Dedicated 20A Circuit |
| Slow Cooker / Crockpot | 200W - 300W | Yes | Wi-Fi / Zigbee |
| Microwave Oven | 1000W - 1500W | No (Surge Risk) | Direct Wall Outlet Only |
Configuring the Auto-Shutoff Routine
For appliances left on the counter (like slow cookers or heating pads), configure an absolute time-limit automation. In your hub app, create a scene: 'If Slow Cooker Power is ON for 8 hours, turn OFF Slow Cooker Power and send Critical Notification to Phone.' This prevents forgotten appliances from running indefinitely.
Phase 3: Under-Sink Flood Prevention
Water damage from failing dishwasher hoses or garbage disposal seals is a leading cause of expensive kitchen renovations. Installing a smart leak sensor is non-negotiable when upgrading kitchen gadgets for mom, especially if she spends time away from the house.
Sensor Placement Strategy
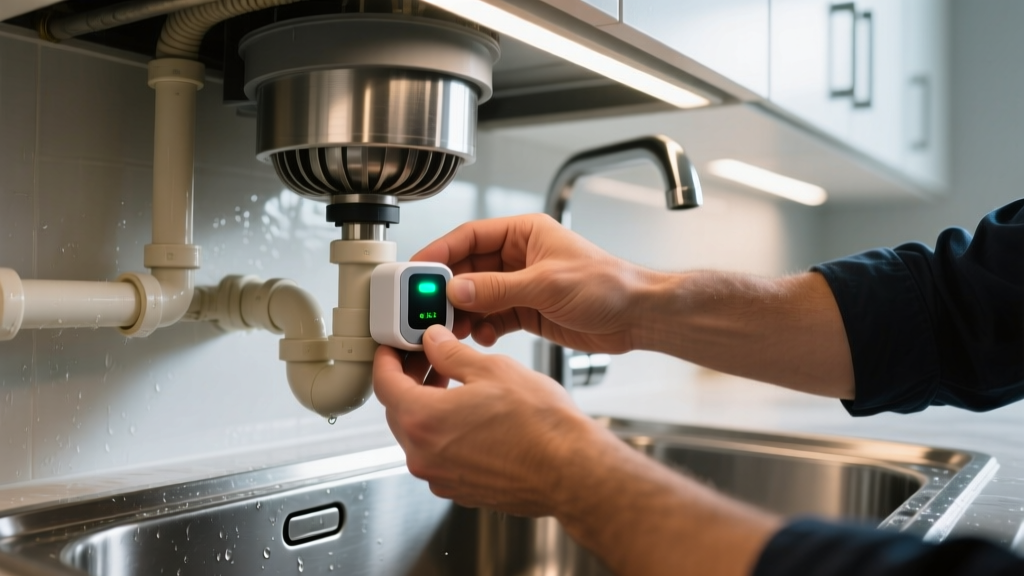
Do not simply place the sensor in the middle of the cabinet floor. Water follows the path of least gravity. Follow these precise placement rules:
- Dishwasher Supply Line: Place the sensor exactly 2 inches from the brass shut-off valve where the braided steel hose connects. This is the most common failure point for pinhole leaks.
- Garbage Disposal: Mount a sensor using double-sided waterproof tape on the side of the disposal housing, near the dishwasher inlet port, where vibrations often loosen the hose clamp.
- Reverse Osmosis (RO) Systems: Place a sensor directly under the RO membrane housing, which can crack under high municipal water pressure spikes.
Hardware & Integration
Use the Aqara Water Leak Sensor T1 (Model SJCGQ12LM). It features an IP67 waterproof rating, meaning it will survive being submerged in 1 meter of water for 30 minutes—crucial if a pipe bursts and floods the cabinet floor before the valve shuts off.
"The transition to Matter 1.3 and 1.4 standards has vastly improved the latency of localized automations. A Zigbee leak sensor triggering a smart water valve now executes in under 200 milliseconds locally, compared to the 2-second cloud delays seen in older Wi-Fi ecosystems." — Connectivity Standards Alliance (CSA)
Pair the leak sensor with a Moen Flo Smart Water Shutoff installed on the home's main water line. Configure the automation so that if any kitchen leak sensor detects moisture for more than 5 seconds, the main water valve automatically closes, and an audible alarm sounds on all smart speakers in the house.
Network Architecture: Beating Kitchen Interference
Kitchens are hostile environments for wireless signals. The magnetron in a microwave oven emits massive electromagnetic interference (EMI) precisely in the 2.4 GHz spectrum—the exact frequency used by Wi-Fi and Zigbee. If your smart kitchen gadgets for mom rely on 2.4 GHz Wi-Fi, they will routinely drop offline every time she reheats a cup of tea.
The Solution: Thread and Zigbee Mesh
To ensure 99.9% uptime, build the kitchen network using Thread or Zigbee protocols rather than Wi-Fi. According to Aqara Official Support Documentation, Zigbee 3.0 devices operate on channels 11, 15, 20, or 25.
- Step 1: Log into your primary Wi-Fi router and set the 2.4 GHz channel to 1, 6, or 11.
- Step 2: Access your Zigbee Hub settings and force the Zigbee network to Channel 25. This creates maximum spectral distance between your Wi-Fi traffic and your smart home sensors, eliminating microwave-induced dropouts.
Ongoing Maintenance & Testing Schedule
Smart safety devices are useless if their internal batteries die or their mechanical relays fuse shut. Implement this bi-annual maintenance checklist to ensure the ecosystem remains reliable:
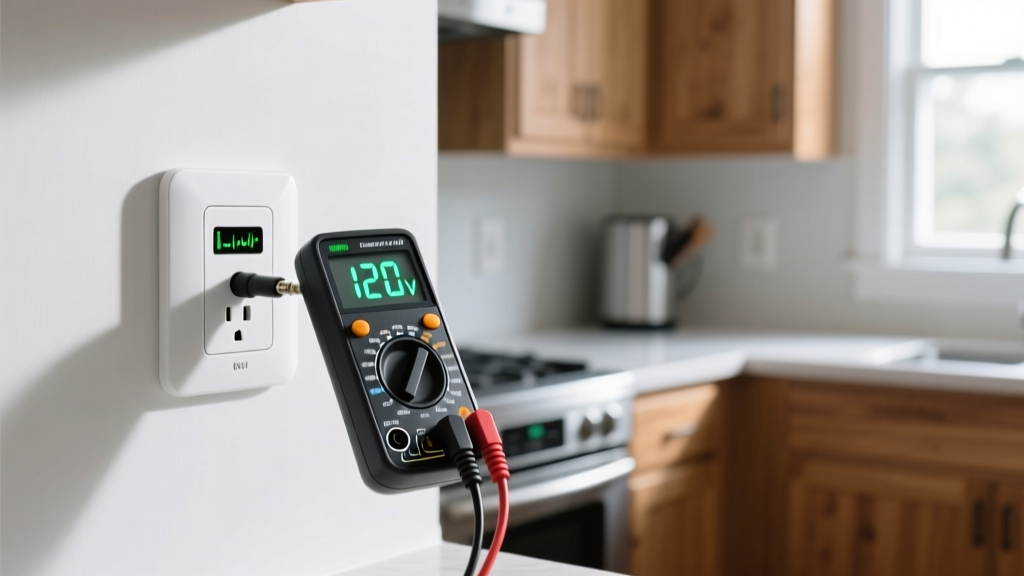
- Relay Welding Test (Every 6 Months): Smart plugs use internal mechanical relays. High inrush currents from coffee maker heating elements can cause these relays to 'weld' shut, meaning the plug will report 'OFF' in the app, but still supply power. Manually toggle the plug off via the app, and verify the appliance actually loses power using a non-contact voltage tester.
- Sensor Battery Audits: Check the voltage of all Zigbee leak and motion sensors. Replace CR2032 batteries when they drop below 2.8V, even if the app reports 15% remaining. Cold kitchen floors can cause voltage sag, leading to premature sensor death.
- Valve Exercise Routine: Program the main smart water shutoff valve to perform an automatic 'exercise' cycle once a month. This opens and closes the brass ball valve by 10 degrees to prevent mineral buildup and calcification, ensuring it won't seize during an actual emergency.
By prioritizing localized protocols, respecting electrical load limits, and strategically placing environmental sensors, you transform a standard cooking space into a highly automated, deeply secure environment. This approach to selecting and installing kitchen gadgets for mom ensures that the technology works silently in the background, providing peace of mind without demanding constant troubleshooting.
Written by
Ryan TanakaRyan Tanaka holds a B.S. in Mechanical Engineering from Oregon State University and is a certified AWS Solutions Architect. He has built over 80 custom electronics projects ranging from CNC machines to IoT sensor networks, and has reviewed development boards, 3D printers, soldering equipment, and maker tools for the past 6 years. Ryan is an active contributor to 12 open-source hardware projects on GitHub and teaches monthly workshops at three hackerspaces across the Pacific Northwest. His reviews combine engineering rigor with accessibility — he evaluates products not just on specs but on documentation quality, community support, and learning curve for beginners. He has presented at Maker Faire Bay Area, Open Hardware Summit, and the Adafruit community showcase, and maintains a popular blog documenting his build processes.