Gadgets Chemistry: Mastering USB-C Hub Power Delivery Setup
Master the gadgets chemistry of USB-C hubs. Learn step-by-step power delivery setup, thermal management, and data routing for Thunderbolt 4 docks.
The 'Chemistry' of USB-C: Power, Data, and Thermal Dynamics
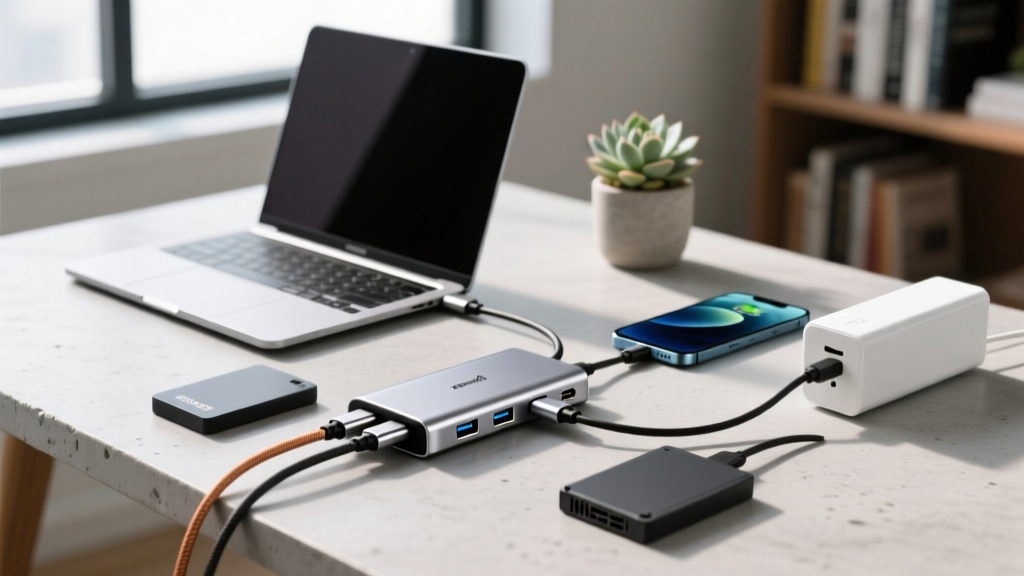
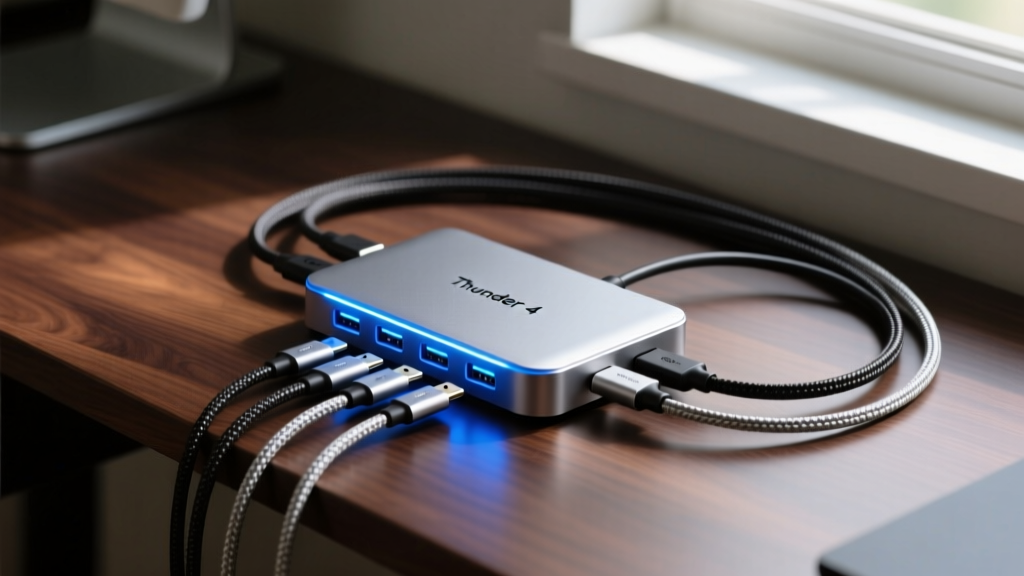
When tech enthusiasts refer to the 'gadgets chemistry' of a modern workspace, they are not talking about literal elements on a periodic table. Instead, they are describing the intricate, volatile balance of electron flow, data packet routing, and thermal dissipation that occurs inside a multi-port USB-C hub. A docking station is essentially a microscopic traffic controller. It must simultaneously negotiate Power Delivery (PD) voltages, allocate DisplayPort Alt Mode lanes, and manage high-speed data transfers—all while keeping internal thermistors below critical failure thresholds.
As of 2026, the ecosystem has matured significantly. USB Power Delivery 3.1 (Extended Power Range) has pushed charging capabilities up to 240W, while Thunderbolt 5 is beginning to trickle into premium workspaces. However, Thunderbolt 4 and USB4 remain the undisputed workstation standards. Mastering the setup of these devices requires moving beyond simple plug-and-play expectations and understanding the underlying architecture. This guide will walk you through the exact setup, calibration, and troubleshooting protocols for high-performance USB-C hubs and docking stations.
Step-by-Step Setup: Optimizing a Thunderbolt 4 Docking Station
To demonstrate a proper setup, we will use the CalDigit TS4 (retailing around $350), widely considered the gold standard for Thunderbolt 4 docking due to its 18-port topology and robust power delivery. If you are using a standard USB-C multi-port adapter like the Anker 341 (7-in-1), the physical steps differ slightly, but the PD negotiation principles remain identical.
Step 1: Physical Topology and Cable Selection
The most common failure point in hub setup is cable mismatching. You must use an Active Thunderbolt 4 cable (usually included with premium docks) to guarantee 40Gbps bidirectional bandwidth. Passive USB-C cables, even those rated for 100W charging, will bottleneck your data transfer to 10Gbps (USB 3.2 Gen 2) and disable dual 4K display outputs.
- Direct Connection: Plug the dock directly into the laptop's Thunderbolt/USB4 port. Do not daisy-chain through a secondary monitor's USB hub.
- Peripheral Staging: Connect high-draw peripherals (like 7200RPM external HDDs or audio interfaces) to the rear downstream ports, which typically feature dedicated power rails.
Step 2: Power Delivery (PD) Handshake Verification
When you connect the dock to your laptop and the wall power, a PD negotiation occurs within 400 milliseconds. The dock's internal controller reads your laptop's battery management system (BMS) and adjusts the voltage/amperage.
Diagnostic Tip: On macOS, hold the 'Option' key and click the Apple Menu, then select 'System Information'. Under 'Power', verify that the 'Wattage' matches your dock's output minus the dock's operational overhead. On Windows, use the HWiNFO64 battery telemetry tool to confirm the charge rate.
Step 3: DisplayPort Alt Mode Allocation
Display bandwidth is finite. A standard USB-C connection (without Thunderbolt) has four high-speed lanes. If you plug in a single 4K monitor at 60Hz, it consumes two lanes. If you plug in a 10Gbps USB-A device, it might consume the remaining lanes, forcing your second monitor down to 30Hz. Always connect your primary high-refresh-rate monitor directly to the dock's dedicated DisplayPort or rear Thunderbolt downstream port, rather than the front HDMI port, to bypass internal bandwidth splitters.
Power Delivery Math: Matching Hub Output to Device Input
Understanding the 'chemistry' of power routing requires basic math. Hubs consume power for their own chipsets, LED controllers, and port regulation. If a hub advertises '100W Passthrough' but you plug in a 100W power brick, your laptop will actually receive less. You must account for the hub's overhead.
| Laptop Class | Peak Draw Requirement | Recommended Wall Adapter | Hub Overhead Buffer | Net Laptop Charge |
|---|---|---|---|---|
| Ultrabook (e.g., Dell XPS 13) | 45W - 60W | 65W GaN Charger | ~10W | 55W (Optimal) |
| Creator Laptop (e.g., MacBook Pro 14) | 96W | 140W PD 3.1 Charger | ~15W | 125W (Fast Charge) |
| Mobile Workstation (e.g., ThinkPad P1) | 135W - 170W | Proprietary Slim Tip / TB4 | ~20W | Requires Direct OEM Dock |
According to the USB Implementers Forum (USB-IF) specifications, PD 3.1 introduces the 28V, 36V, and 48V tiers, which are essential for power-hungry mobile workstations in 2026. Always pair your high-end hub with a GaN (Gallium Nitride) charger that exceeds your laptop's base requirement by at least 20%.
Troubleshooting: When the Chemistry Fails
Even premium docks from brands like Satechi, Anker, and CalDigit experience edge-case failures. Here is how to diagnose and resolve the most common structural bottlenecks.
1. Thermal Throttling and Data Drops
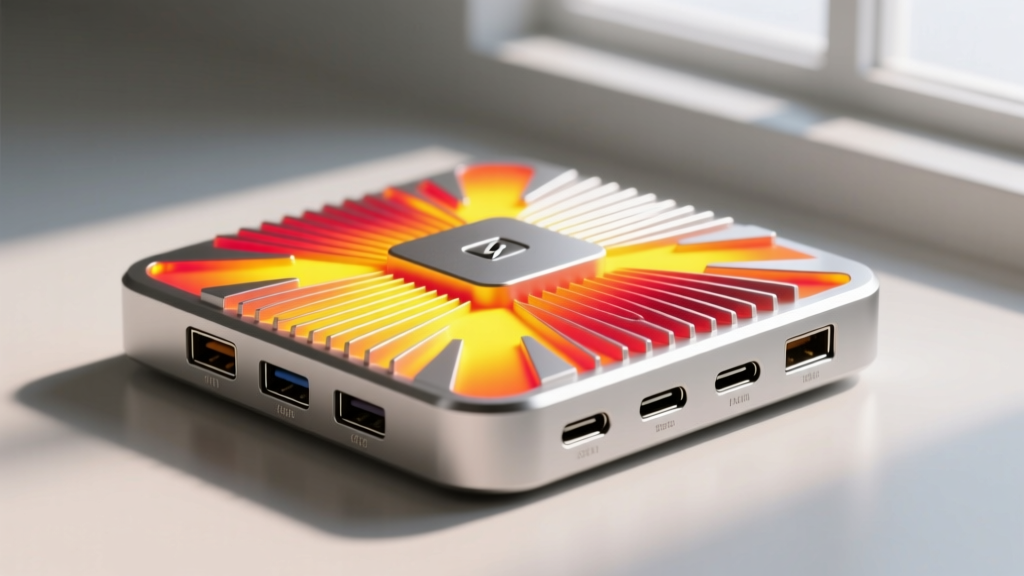
USB-C hubs encased in cheap ABS plastic act as thermal insulators. When the internal Realtek or ASMedia controller chips hit 65°C to 70°C, they will aggressively throttle data speeds from 10Gbps down to 480Mbps (USB 2.0) to prevent silicon damage. The Fix: Ensure your hub is placed vertically on a stand to promote passive convection, or invest in an aluminum-chassis dock that acts as a giant heatsink. If your external SSD transfer speeds plummet after 3 minutes of use, thermal throttling is almost certainly the culprit.
2. Ground Loop Hum in Audio Interfaces
If you plug a DAC or microphone into a bus-powered USB-C hub, you may hear a 60Hz hum. This occurs because the hub's power ground is tied directly to the laptop's motherboard ground, creating an electrical loop. The Fix: Use a powered USB hub between your dock and the audio interface, or utilize a $15 ground loop isolator on the 3.5mm audio line.
3. Sleep/Wake Display Handshake Failures
When waking a Windows PC from sleep, monitors connected via a hub sometimes fail to detect the signal, requiring a physical cable unplug. This is caused by the hub's DisplayPort Alt Mode controller failing to send the Hot Plug Detect (HPD) signal fast enough for the OS. The Fix: Update your laptop's BIOS and the hub's firmware. Alternatively, disable 'USB Selective Suspend' in the Windows Power Plan settings to keep the hub's logic board active during sleep states.
Advanced Configuration: Firmware Flashing and Driver Tuning
For true enthusiasts, out-of-the-box performance is just the baseline. CalDigit TS4 documentation and Intel Thunderbolt Technology resources frequently release firmware updates to patch security vulnerabilities (like DMA attacks) and improve multi-monitor handshake timing.
- Download the OEM Hub Manager: Do not rely on Windows Device Manager for hub firmware. Download the proprietary software from the manufacturer.
- Isolate the Bus: Unplug all downstream peripherals (drives, monitors, keyboards) before flashing. A data interruption during a firmware write can brick the hub's EEPROM.
- Verify Controller Drivers: On Windows, ensure you are using the Intel Thunderbolt Controller driver, not the generic Microsoft USB4 stub driver, to unlock full PCIe tunneling capabilities for external GPUs (eGPUs) or NVMe RAID enclosures.
Quick Reference: Hub Topology & Bandwidth Matrix
Use this matrix to determine which hub standard matches your specific workflow requirements.
| Protocol Standard | Max Bandwidth | Display Support | Power Delivery | Best Use Case |
|---|---|---|---|---|
| USB 3.2 Gen 2 | 10 Gbps | Single 4K @ 60Hz | Up to 100W | Travel hubs, basic peripherals |
| USB4 (Gen 2x2) | 20 Gbps | Single 8K or Dual 4K | Up to 240W (PD 3.1) | High-speed SSDs, dual monitors |
| Thunderbolt 4 | 40 Gbps | Dual 4K @ 60Hz (Mandatory) | Up to 100W | Workstations, eGPUs, Pro Audio |
| Thunderbolt 5 | 80 Gbps (120 Gbps asymmetrical) | Triple 4K @ 144Hz | Up to 240W | Next-gen 8K editing, massive RAID |
Frequently Asked Questions (FAQ)
Why does my 100W laptop only charge at 85W through the hub?
This is the 'chemistry' of overhead. The hub's internal chipset, USB-A ports, and SD card readers require roughly 10W to 15W of continuous power. If you plug a 100W charger into the hub's PD passthrough port, the hub reserves its operational wattage first, passing the remaining 85W to the laptop. Always use a 130W or 140W GaN charger to ensure your laptop receives its maximum required draw.
Can I use a Thunderbolt 4 dock with a standard USB-C laptop?
Yes, but with severe limitations. Thanks to USB4 backward compatibility, a Thunderbolt 4 dock will provide power, basic USB data, and a single display output to a standard USB-C laptop. However, you will lose dual-monitor support, PCIe tunneling, and the guaranteed 40Gbps bandwidth allocation that defines the Thunderbolt standard.
Do SD card slots on hubs share bandwidth with USB ports?
On budget multi-port adapters (under $40), the SD card reader and the USB-A ports often share a single internal 5Gbps hub controller. Transferring files from an SD card while simultaneously writing to a USB flash drive will halve your speeds. Premium docks isolate the UHS-II SD card reader onto its own dedicated PCIe or high-speed USB bus.
Written by
Jake MorrisonJake Morrison holds a B.S. in Electrical Engineering from UC Berkeley and an MBA from Stanford Graduate School of Business. With over 12 years of hands-on experience in consumer electronics, he previously served as a senior product engineer at a Silicon Valley startup before transitioning to tech journalism. Jake has personally tested and benchmarked over 3,000 gadgets across categories including smartphones, wearables, smart home devices, and audio equipment. His durability testing methodology — involving controlled drop tests, thermal cycling, and water submersion — is widely cited by major tech publications. He is a certified CompTIA A+ technician and a contributing editor to the IEEE Consumer Electronics Magazine.