Beginner vs Expert Culinary Gadgets for Kitchen Storage
Discover how beginners and experts differ in choosing culinary gadgets for kitchen storage. Compare pantry, produce, and leftover organization tools.
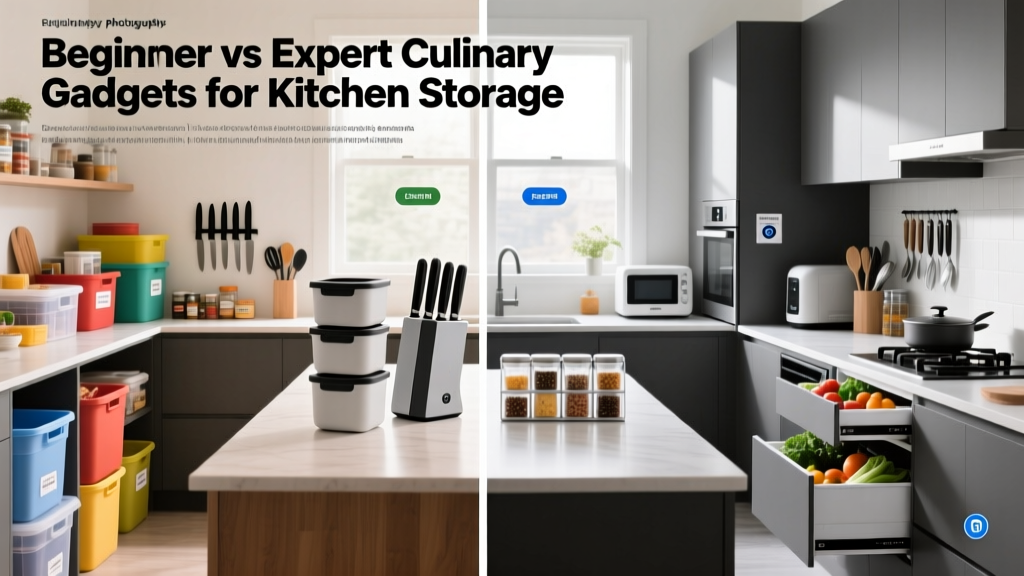
The Great Divide: How Novices and Pros Approach Kitchen Organization
Walk into any home kitchen, and the pantry tells a story. For beginners, that story is often a chaotic jumble of half-crushed cereal boxes, mismatched plastic tubs with missing lids, and produce that spoils days after purchase. For culinary experts, however, the kitchen is a streamlined ecosystem. The difference rarely comes down to the size of the space; it comes down to the culinary gadgets chosen for storage, organization, and preservation.
As we navigate kitchen organization in 2026, the market is flooded with options. But buying the right storage tools requires understanding material science, spatial geometry, and food biology. Below, we break down the exact storage gadgets beginners gravitate toward versus the precision tools experts rely on, complete with specific models, pricing, and failure modes.
Dry Goods & Pantry Storage: Clear Bins vs. Modular Ecosystems
The Beginner Trap: Mismatched Aesthetics and Warping Lids
Novices typically buy storage containers based on immediate visual appeal or bulk discounts. A common beginner mistake is purchasing cheap polypropylene (plastic #5) bins with snap-fit lids. While these might look fine on day one, they fail catastrophically over time. When washed in a dishwasher at temperatures exceeding 140°F, the thin plastic lids warp, breaking the hermetic seal. Furthermore, non-modular shapes leave awkward gaps on standard 12-inch deep pantry shelves, wasting up to 30% of usable vertical space.
The Expert Choice: OXO POP 2.0 and Modular Stacking
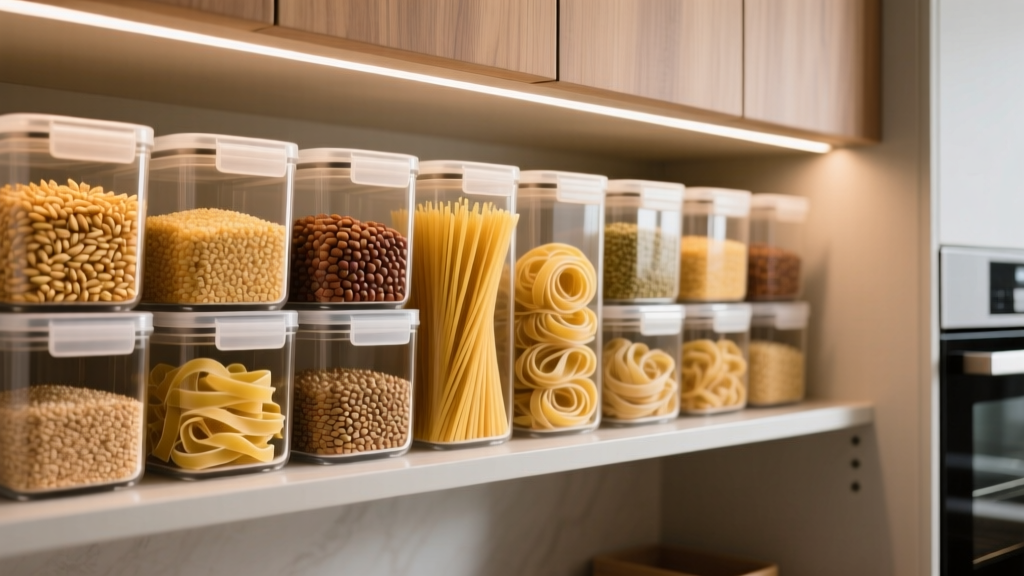
Experts treat pantry storage as a modular grid. The gold standard remains the OXO Good Grips POP Container 2.0 line. Priced between $16 and $22 per unit depending on capacity (e.g., the 1.5 Qt for flour, the 5.75 Qt for bulk rice), these containers use a silicone gasket and a push-button mechanism that creates a genuine airtight seal.
The true genius of the POP system is its dimensional footprint. The containers are designed to stack perfectly and align with standard cabinet depths. Experts also utilize the underside of the lids, attaching specialized accessory inserts like half-cup scoops or desiccant holders to keep brown sugar from turning into a brick.
Produce Preservation: Crisper Drawers vs. Active Humidity Control
Why Beginners Lose Hundreds to Spoilage
According to the USDA, roughly 30-40% of the food supply is wasted, with fresh produce making up a massive chunk of household losses. Beginners rely entirely on the fridge's built-in crisper drawer, tossing herbs in plastic bags and leaving berries in their original clamshells. This traps excess moisture, accelerating mold growth and ethylene gas buildup, which triggers rapid ripening and rot.
Expert Gadgets: Progressive Herb Keepers and Ethylene Absorbers
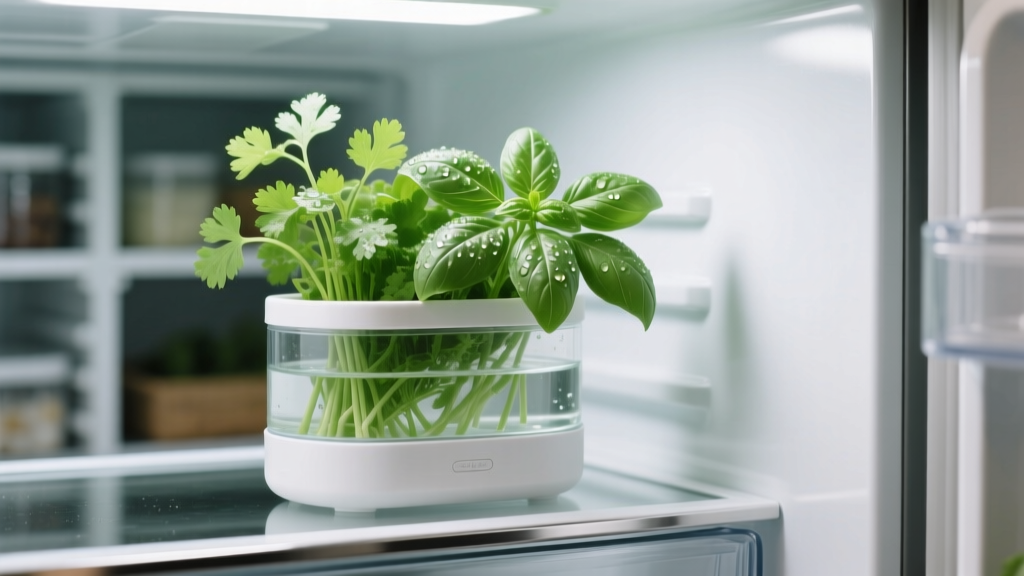
Culinary professionals deploy targeted micro-climates. For delicate herbs like cilantro, parsley, and basil, experts use the PrepSolutions by Progressive Herb Keeper (approx. $15). This gadget features a built-in water reservoir that keeps stems hydrated without submerging the leaves, extending herb life from 4 days to over 3 weeks.
For the broader fridge environment, experts utilize ethylene gas absorbers like the Bluapple ($25 for a two-pack). By tossing these into crisper drawers, the active carbon and potassium permanganate core neutralizes the ripening hormone emitted by apples and tomatoes, keeping surrounding leafy greens crisp. As noted in extensive testing by Serious Eats, controlling the atmospheric environment is just as critical as the physical container itself.
The Leftover Matrix: Flimsy Plastics vs. Vacuum & Glass
Beginner Mistakes: Stained Tupperware and Freezer Burn
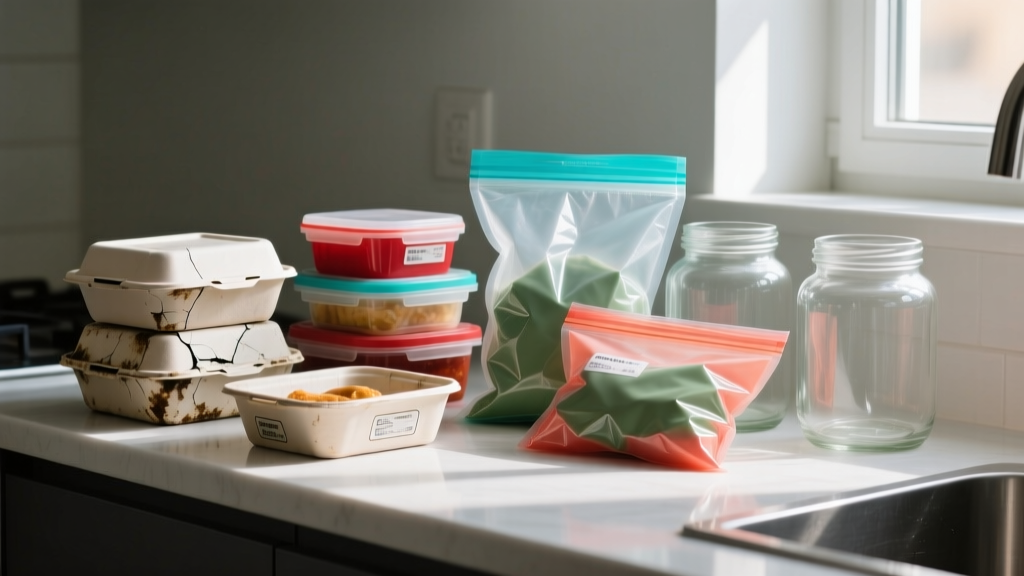
Reusing takeout containers or buying ultra-cheap plastic tubs is a hallmark of beginner kitchens. The failure mode here is twofold: chemical staining and freezer burn. Tomato-based sauces contain lycopene, a lipophilic (fat-soluble) pigment that permanently stains porous plastics. Furthermore, standard snap-lids allow air exchange in the freezer, leading to sublimation (freezer burn) that ruins the texture of cooked meats and soups within weeks.
The Pro Standard: Borosilicate Glass and Vacuum Sealing
Experts segregate their leftover storage into two distinct tiers: daily fridge use and long-term freezing.
- Daily Fridge (Borosilicate Glass): Pros use tempered borosilicate glass, such as the Pyrex Glasslock or Snapware lines ($25-$40 for a set). Borosilicate glass is non-porous, meaning it will never absorb odors or stain from acidic foods. It also transitions safely from a 350°F oven to the fridge without thermal shock shattering.
- Long-Term Freezer (Vacuum Tech): For freezing, experts remove oxygen entirely. The Zwilling Fresh & Save Vacuum Starter Set ($100-$130) utilizes a compact, USB-rechargeable handheld pump and specialized bags/glass containers. By vacuum-sealing leftovers, aerobic bacterial growth is halted, and freezer burn is eliminated, extending the quality lifespan of frozen meals from 1 month to 6+ months.
Pro Tip: Never vacuum-seal raw mushrooms, soft cheeses, or freshly cooked cruciferous vegetables (like broccoli) while still warm. These items release gases or require oxygen to prevent the growth of anaerobic bacteria. Always chill foods to below 40°F before vacuum sealing.
Comparison Matrix: Beginner vs. Expert Storage Gadgets
| Category | Beginner Choice | Expert Choice | Price Delta | Longevity & ROI |
|---|---|---|---|---|
| Pantry Dry Goods | Mismatched snap-fit plastic bins | OXO POP 2.0 Modular System | +$8 to $12 per unit | Experts save money by preventing pantry moth infestations and stale ingredients. |
| Fresh Herbs | Damp paper towels in zip bags | Progressive Herb Keeper | +$15 one-time | Reduces herb waste by 80%, paying for itself in under two months. |
| Leftovers (Fridge) | Takeout containers / cheap plastic | Borosilicate Glasslock sets | +$20 to $30 | Glass lasts decades; plastic degrades, warps, and stains within a year. |
| Freezer Storage | Standard zip-top bags | Zwilling Fresh & Save Vacuum | +$100 initial setup | Eliminates freezer burn; preserves expensive proteins and batch-cooked meals. |
Decision Framework: When to Upgrade Your Culinary Gadgets
You do not need to overhaul your entire kitchen overnight. Use this practical framework to decide when to upgrade your storage tools:
- The 'Pantry Pest' Trigger: If you have ever found weevils in your flour or pantry moths in your grains, immediately upgrade to gasket-sealed modular containers. Snap-lids cannot stop microscopic eggs or larvae.
- The 'Tomato Sauce' Test: If your primary leftover containers are permanently orange and smell faintly of old garlic, it is time to switch to non-porous borosilicate glass.
- The 'Batch Cooker' Rule: If you meal-prep on Sundays but find your Thursday dinners taste like freezer air, invest in a vacuum-sealing system. The ROI on a $130 Zwilling pump is realized quickly when you stop throwing away ruined batch-cooked chicken or soups.
Frequently Asked Questions (FAQ)
Are expensive culinary gadgets for storage really worth the investment?
Yes, but selectively. Spending $150 on a vacuum sealer is worth it if you buy proteins in bulk or meal prep. However, for basic dry goods like pasta or rice, mid-tier options like Rubbermaid Brilliance ($25 for a 10-pack) offer 90% of the performance of premium brands at a fraction of the cost. For deeper insights on budget versus premium options, Wirecutter's comprehensive testing is an excellent resource.
Can I put modular container lids in the dishwasher?
Even with high-end brands like OXO, it is highly recommended to hand-wash the lids. The high heat and harsh detergents in dishwashers can degrade the silicone gaskets over time and warp the plastic mechanism, ruining the airtight seal. Always wash the base in the dishwasher, but hand-wash the lids in warm soapy water.
How do I remove odors from old plastic containers before throwing them out?
Before discarding or repurposing smelly plastic, create a paste of baking soda and water, coat the interior, and let it sit in direct sunlight for 24 hours. UV rays and the alkaline baking soda will neutralize most trapped volatile organic compounds (VOCs). If the smell persists, the plastic has permanently absorbed the oils and should be recycled.
Written by
Ryan TanakaRyan Tanaka holds a B.S. in Mechanical Engineering from Oregon State University and is a certified AWS Solutions Architect. He has built over 80 custom electronics projects ranging from CNC machines to IoT sensor networks, and has reviewed development boards, 3D printers, soldering equipment, and maker tools for the past 6 years. Ryan is an active contributor to 12 open-source hardware projects on GitHub and teaches monthly workshops at three hackerspaces across the Pacific Northwest. His reviews combine engineering rigor with accessibility — he evaluates products not just on specs but on documentation quality, community support, and learning curve for beginners. He has presented at Maker Faire Bay Area, Open Hardware Summit, and the Adafruit community showcase, and maintains a popular blog documenting his build processes.