How to Set Up Great Kitchen Gadgets: Stainless Steel Cookware Mastery
Master stainless steel cookware setup. Learn the Leidenfrost test, oil mapping, and essential accessories to maximize these great kitchen gadgets.
The Stainless Steel Learning Curve: Why Setup Matters
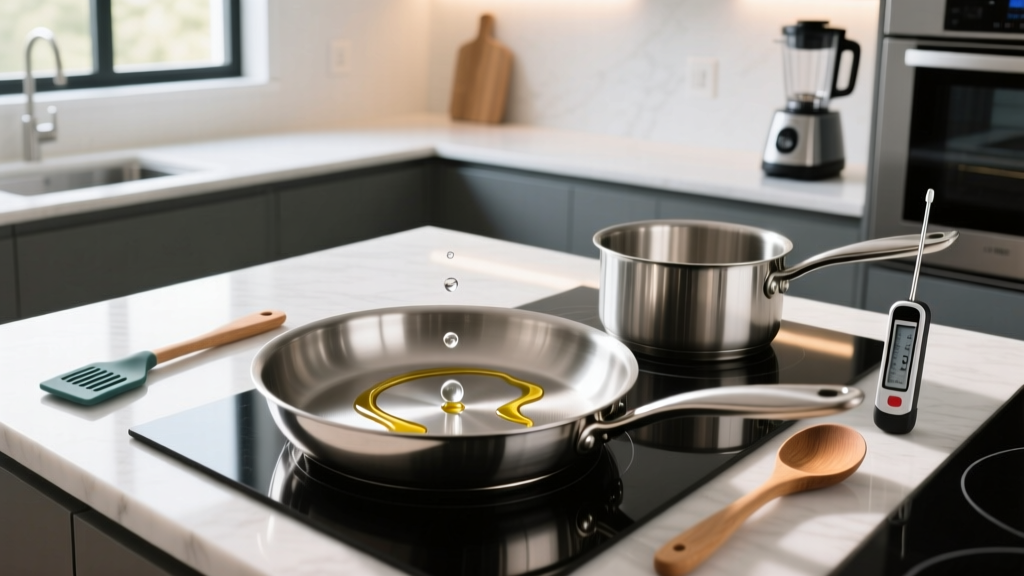
Stainless steel is the undisputed workhorse of professional kitchens. Unlike PTFE-coated non-stick pans that degrade over time, high-quality tri-ply or 5-ply stainless steel cookware—such as the All-Clad D3 or Made In 5-ply lines—offers unmatched durability, superior fond development for pan sauces, and oven-safe versatility. However, treating these items like standard non-stick pans guarantees frustration, burned proteins, and ruined meals. To truly leverage these great kitchen gadgets, you must understand the metallurgy, thermal dynamics, and proper initial setup required to create a naturally non-stick cooking surface.
This guide bypasses generic advice and provides a precise, step-by-step framework for unboxing, preheating, temperature mapping, and maintaining stainless steel cookware and its essential accessories.
Step 1: The Factory Purge (Initial Setup)
New stainless steel cookware is never ready to cook straight out of the box. During the manufacturing and polishing processes, pans are coated with mineral oils, machine lubricants, and fine alumina (polishing compounds). If you cook on an un-prepped pan, these industrial residues will polymerize into a sticky, dark brown layer that is incredibly difficult to remove and will impart a metallic, bitter taste to your food.
The Purge Protocol
- Boil Out: Fill the pan halfway with water and add two tablespoons of mild dish soap. Bring to a rolling boil on medium heat for 10 minutes. This emulsifies the factory oils.
- Dump and Scrub: Carefully discard the water. While the pan is still warm, scrub the entire interior and exterior with a non-scratch cellulose sponge and a paste made of baking soda and water.
- Acid Rinse: Wipe the interior with a paper towel soaked in white vinegar. The acetic acid neutralizes any remaining alkaline polishing compounds. Rinse thoroughly with hot water and towel dry immediately to prevent water spots.
Step 2: Mastering the Preheat (The Mercury Ball Test)
The most common failure mode with stainless steel is adding food to an improperly heated pan. Stainless steel is not naturally non-stick; it relies on a physical phenomenon to prevent proteins from bonding to the microscopic pores of the metal. When heated correctly, the metal expands, closing these pores. To verify the exact thermal state, culinary professionals use the Leidenfrost effect.
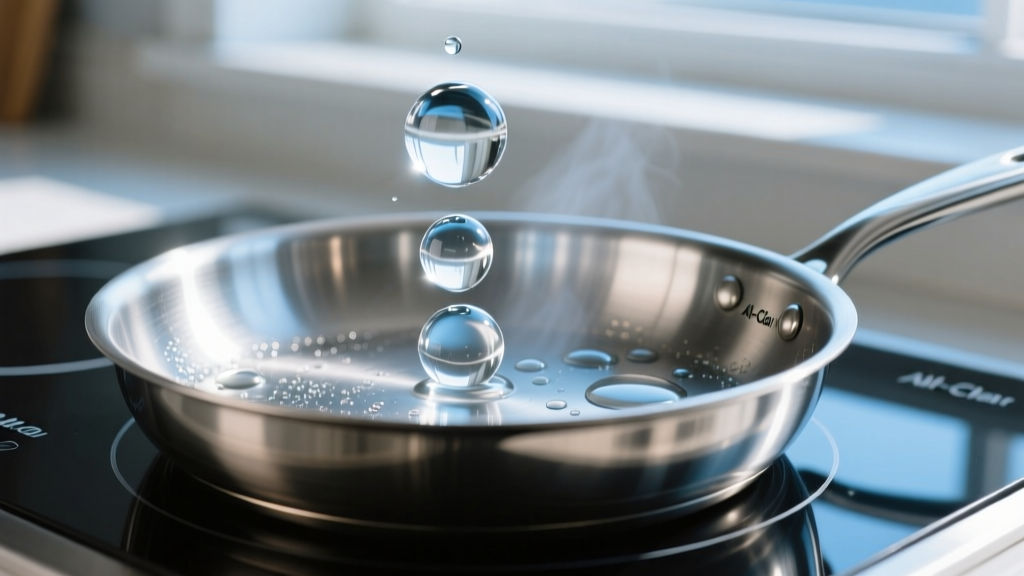
According to the physics of the Leidenfrost effect, when a liquid comes into contact with a surface significantly hotter than its boiling point, it produces an insulating vapor layer that keeps the liquid from boiling rapidly. In culinary terms, this means water droplets will form a single, gliding mercury-like ball rather than sizzling and evaporating.
Executing the Mercury Ball Test
- Cold Start: Place your dry, empty pan on a burner set to medium heat. Never preheat on high; the rapid, uneven thermal expansion can warp the aluminum core, especially on induction cooktops.
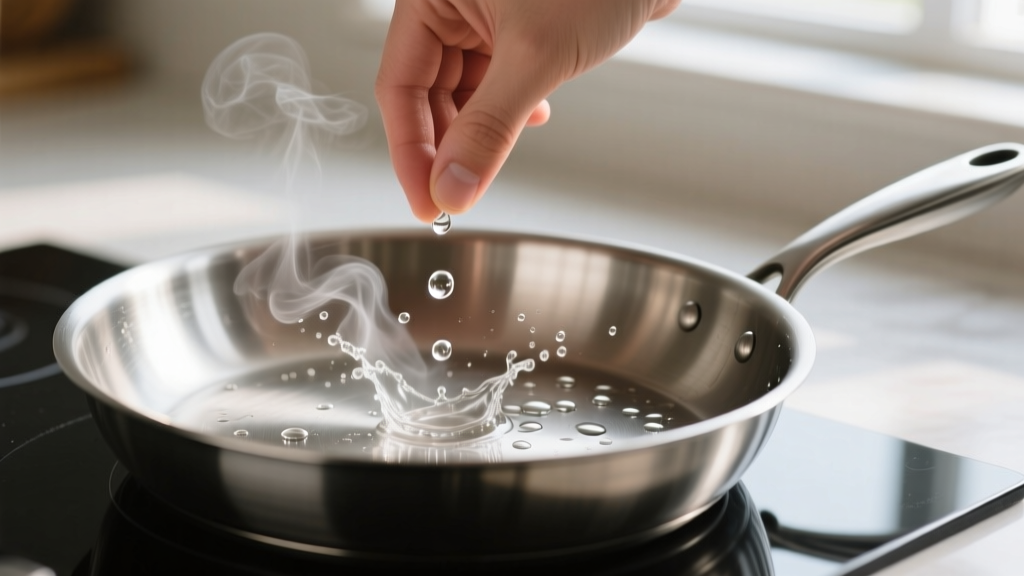
- The 2-Minute Mark: After 2 to 3 minutes, flick a few drops of water into the pan.
- Too Cold (Evaporation): If the water sizzles and evaporates immediately, the pan is below 300°F. The metal pores are still open. Wait another 30 seconds.
- Too Hot (Micro-droplets): If the water shatters into dozens of tiny, frantic droplets that skitter violently, the pan is over 450°F. Remove it from the heat for 20 seconds.
- Perfect (Mercury Ball): If the water forms a single, cohesive bead that glides smoothly across the surface like mercury without evaporating, your pan is exactly in the 350°F to 400°F sweet spot. Wipe the water out with a dry towel and immediately add your oil.
Step 3: Oil Selection and Temperature Mapping
Once the pan passes the Leidenfrost test, the oil acts as a thermal transfer medium and a physical barrier. Selecting the wrong oil leads to burning, acrid smoke, and degraded flavors. You must match the oil's smoke point to your target cooking temperature. Refer to the smoke point data when planning your cook.
| Oil Type | Smoke Point | Best Application |
|---|---|---|
| Extra Virgin Olive Oil | 320°F (160°C) | Low-heat sweating, aromatics, gentle egg scrambling |
| Unsalted Butter | 350°F (175°C) | Pan sauces, finishing, basting (add after searing) |
| Canola / Vegetable Oil | 400°F (205°C) | General sautéing, chicken breasts, shallow frying |
| Refined Avocado Oil | 520°F (270°C) | Hard searing steaks, wok hei, high-heat roasting |
Step 4: Essential Stainless Steel Accessories
To maintain and maximize your cookware, standard kitchen tools often fall short. Integrating the right accessories transforms your cooking workflow and preserves the lifespan of the steel.
1. Infrared Thermometer
While the water test is effective, an infrared (IR) thermometer like the Etekcity LaserGrip 1080 ($25) provides exact surface temperature readings. Pointing the laser at the center of the dry pan removes the guesswork, allowing you to hit exactly 385°F for a perfect chicken skin crisp without overshooting into smoke territory.
2. The Right Spatula
Thick silicone spatulas cannot get under food bonded to steel. You need a thin, beveled metal turner. The Victorinox 45256 6-inch Fish Turner ($35) features a flexible, razor-thin stainless steel blade that slides effortlessly beneath delicate proteins and crusty sears without tearing the fond or the food.
3. Chainmail Scrubber
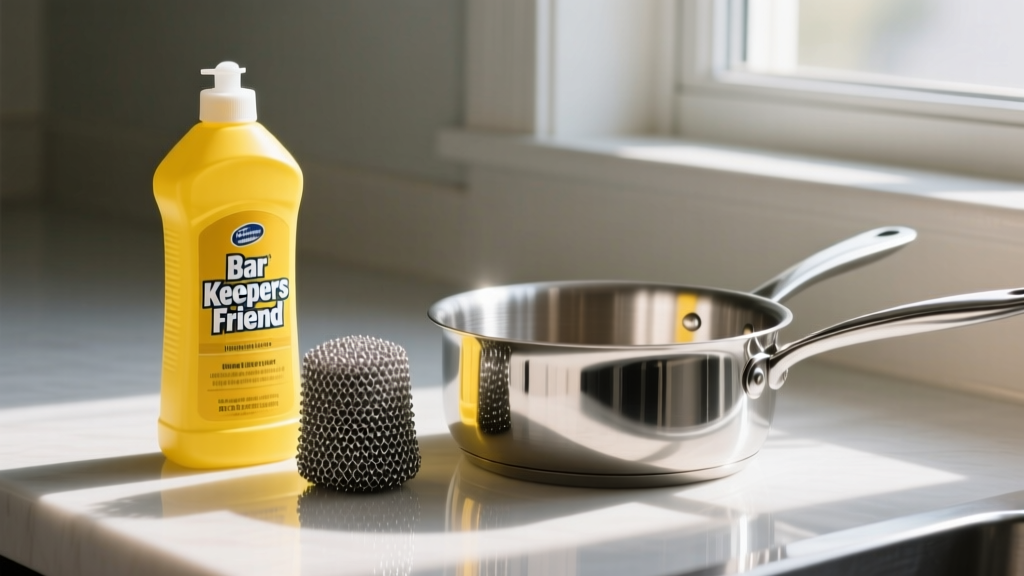
For stubborn, carbonized bits that won't release during deglazing, a stainless steel chainmail scrubber is superior to synthetic pads. The interlocking steel rings scrape away burnt carbon without scratching the polished 18/10 cooking surface, as the chainmail is softer than the hardened cookware steel.
Step 5: Deglazing, Fond, and Cleanup Protocols
The primary culinary advantage of stainless steel is the development of fond—the browned, caramelized bits of protein and sugar left in the pan after searing. This is the foundation of professional pan sauces.
The Deglaze Sequence
- Remove the seared protein and let it rest on a wire rack.
- Reduce the heat to medium-low. Pour off excess rendered fat, leaving about one tablespoon in the pan along with the fond.
- Add a cold liquid (dry white wine, vermouth, or low-sodium chicken stock). The thermal shock will instantly loosen the fond.
- Scrape the bottom with a flat-edged wooden spoon or your Victorinox turner, dissolving the fond into the liquid to create a rich, emulsified sauce.
Cleanup and Thermal Shock Prevention
After cooking, never plunge a hot stainless steel pan into cold water. The extreme temperature differential causes rapid, uneven contraction of the aluminum or copper core, leading to permanent warping. A warped pan will never sit flat on a glass or induction cooktop again. Always let the pan cool until it is warm to the touch before washing.
For routine cleaning, follow FDA safe food handling guidelines by washing with hot, soapy water to remove all lipid residues, preventing cross-contamination and bacterial growth. If your pan develops a rainbow-colored heat tint or stubborn white calcium spots, apply Bar Keepers Friend Soft Cleanser. The active ingredient, oxalic acid, chemically breaks down polymerized oils and mineral deposits at a molecular level, restoring the factory mirror finish in seconds without abrasive scratching.
Troubleshooting Common Failure Modes
| Symptom | Root Cause | Corrective Action |
|---|---|---|
| Food sticks immediately upon contact | Pan was not hot enough; metal pores were open. | Use the Leidenfrost water test before adding oil. |
| Dark brown, sticky residue on sides | Polymerized oil from using low smoke-point oils at high heat. | Boil with soapy water, then polish with Bar Keepers Friend. |
| Pan wobbles on flat induction stove | Thermal shock warping from cold water on a hot pan. | Pan is permanently damaged; always air-cool before washing. |
| Pitting or tiny rust spots on surface | Leaving salty water or acidic foods in the pan overnight. | Never store food in stainless steel; wash immediately after use. |
Mastering stainless steel requires a shift in how you approach heat and preparation. By executing the factory purge, respecting the Leidenfrost effect, mapping your oil smoke points, and utilizing specialized tools like chainmail scrubbers and IR thermometers, you elevate basic pots and pans into highly responsive, naturally non-stick great kitchen gadgets that will outlast any coated alternative on the market.
Written by
Ryan TanakaRyan Tanaka holds a B.S. in Mechanical Engineering from Oregon State University and is a certified AWS Solutions Architect. He has built over 80 custom electronics projects ranging from CNC machines to IoT sensor networks, and has reviewed development boards, 3D printers, soldering equipment, and maker tools for the past 6 years. Ryan is an active contributor to 12 open-source hardware projects on GitHub and teaches monthly workshops at three hackerspaces across the Pacific Northwest. His reviews combine engineering rigor with accessibility — he evaluates products not just on specs but on documentation quality, community support, and learning curve for beginners. He has presented at Maker Faire Bay Area, Open Hardware Summit, and the Adafruit community showcase, and maintains a popular blog documenting his build processes.